Onboarding a Client and Running Their CRA Compliance
Audience. A compliance consultancy or reseller onboarding a manufacturer client and running that client's product through CRA self-assessment on their behalf.
Outcome. A client workspace linked to your partner account, billing routed correctly, a partner seat inside the client, and their product taken through classification and technical file preparation.
Why it matters. The partner seat model means you work inside the client's own tenant rather than holding their data in yours. Every change is recorded in the client's audit log under your name, and the client can revoke the seat at any time. That property is what makes the arrangement defensible when an authority asks who did what.
Time required. Onboarding a client takes about 10 minutes. The compliance work per product follows SOP-02 and is a project, not a session.
Prerequisites.
- A partner account with the partner console enabled. Access derives from the ADMIN of the partner owner company.
- The client's company name and the work email of the person who will own their workspace.
Step 1. Open the partner console
Sign in and open /partner.
The console lists every client workspace linked to your partner account, with plan, billing arrangement, readiness summary, and the two ways into each workspace.
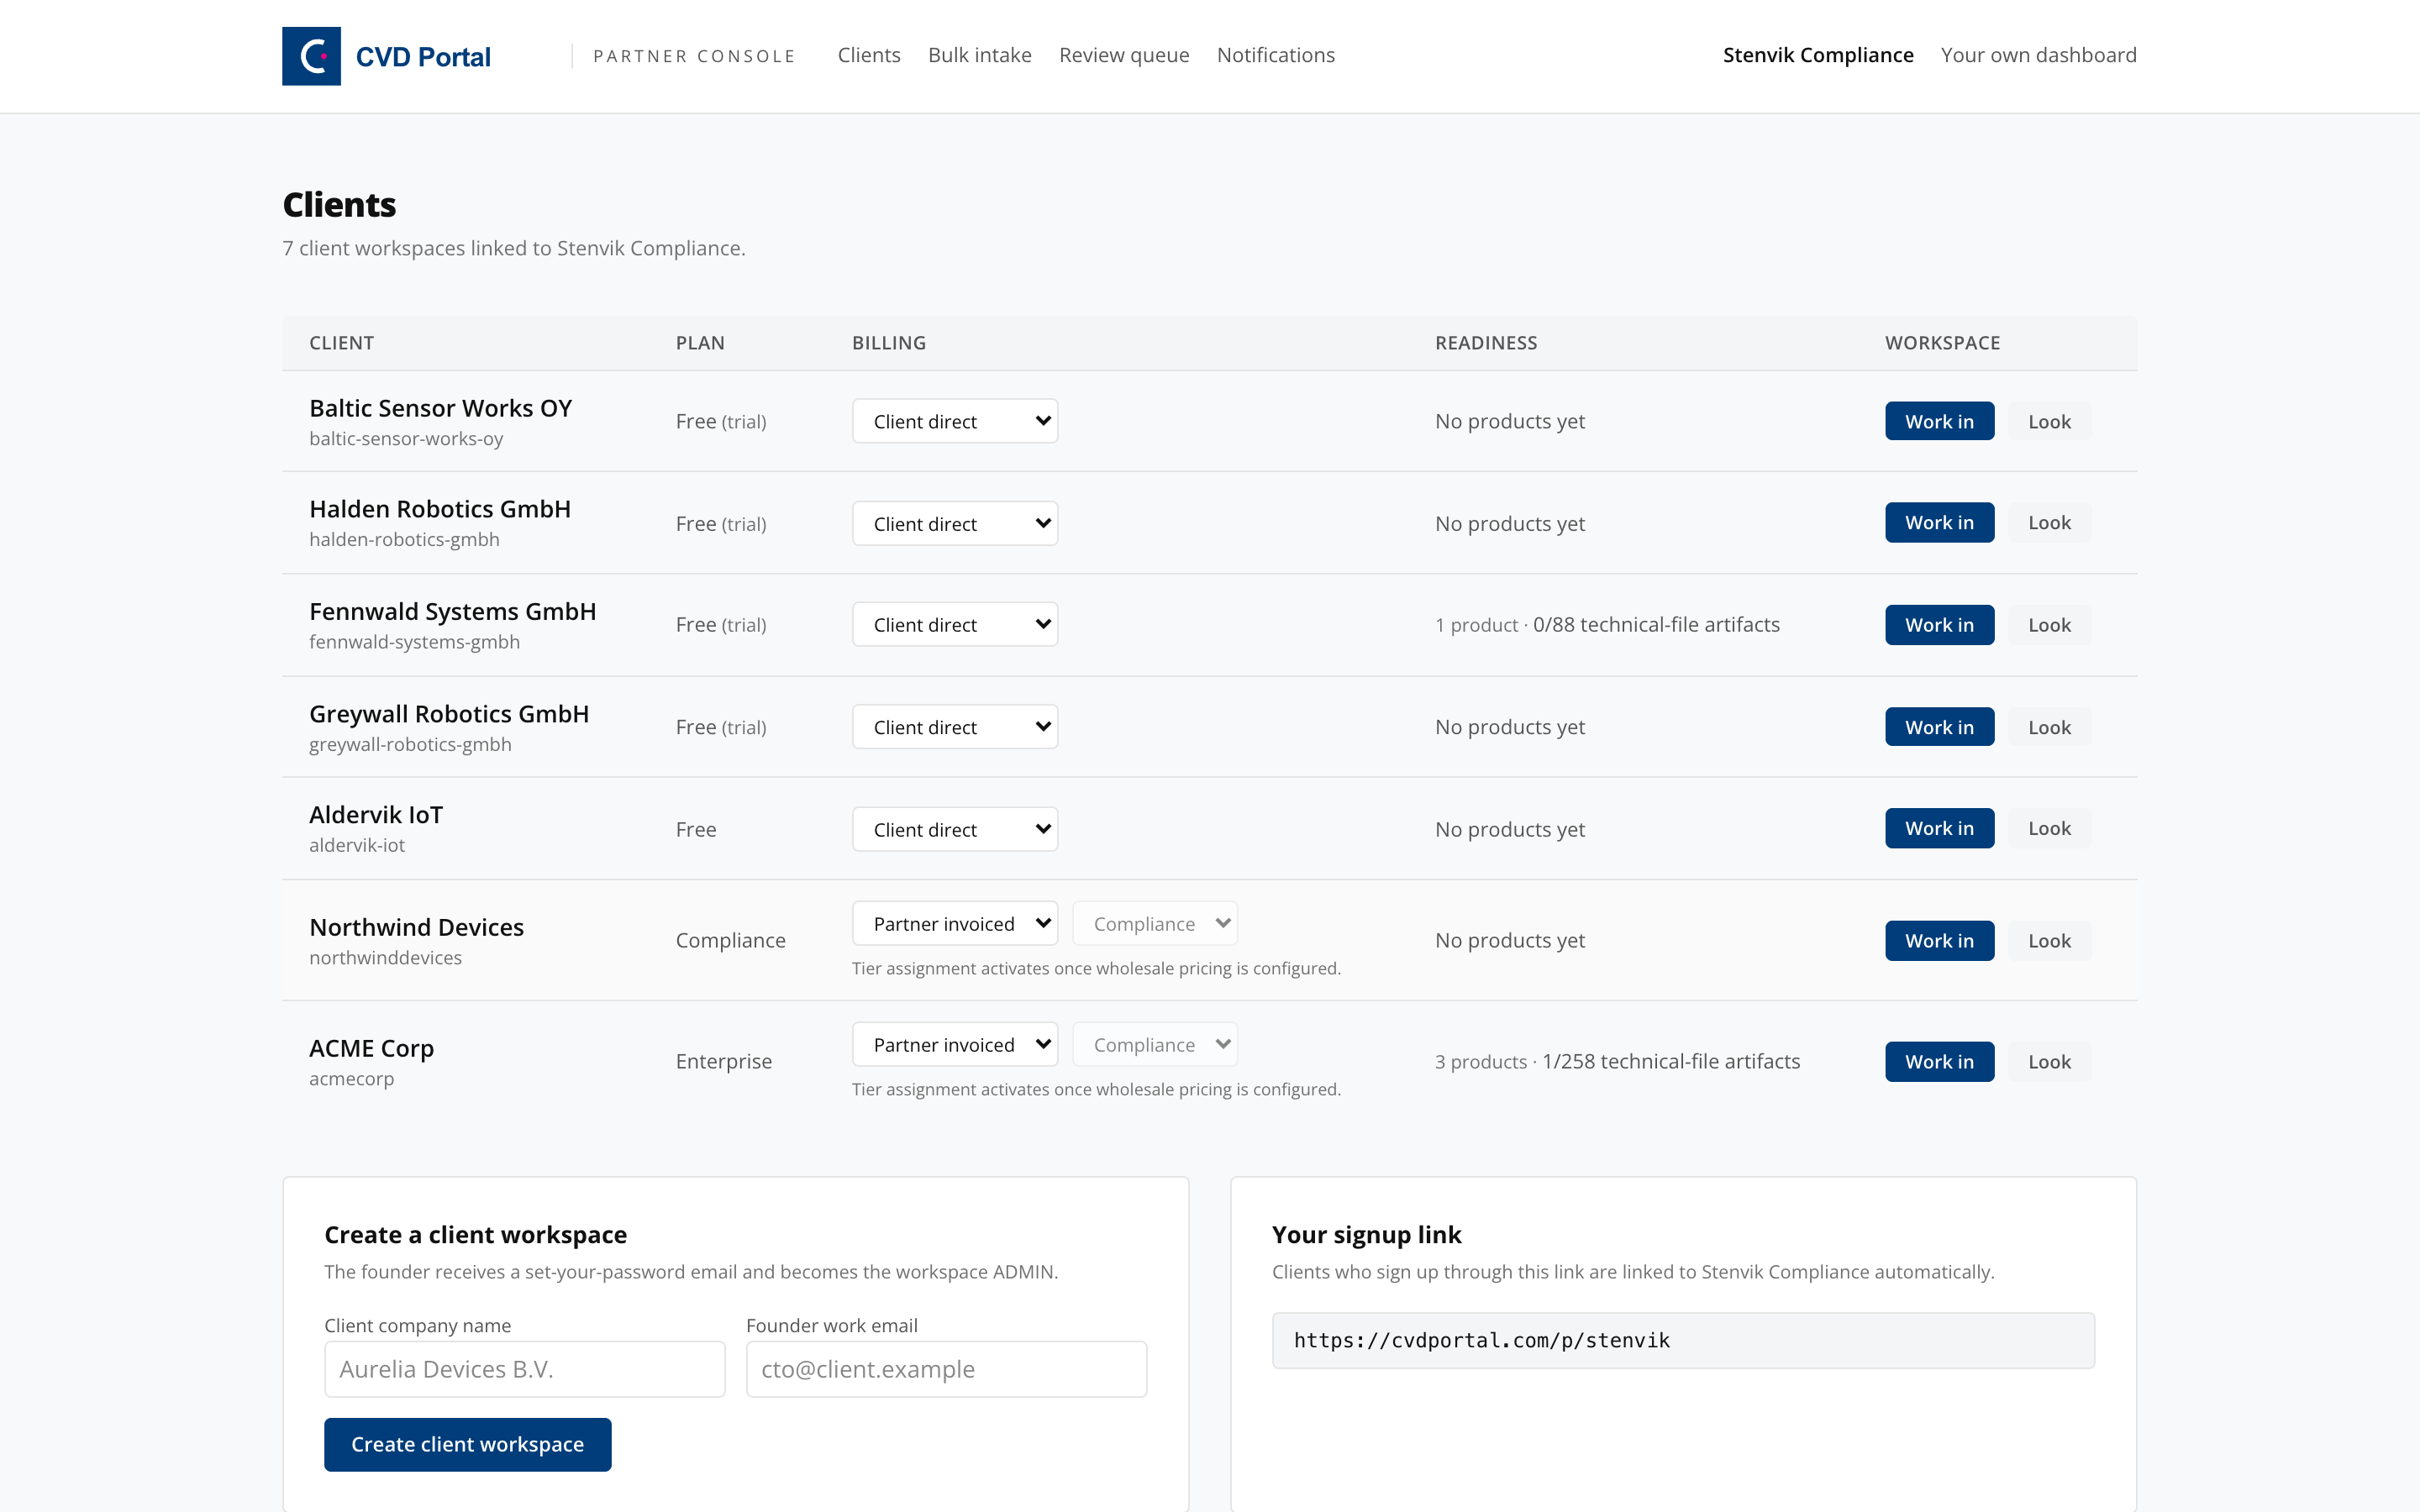
The five sections of the console are Clients, Deal registration, Bulk intake, Review queue and Notifications. Your own dashboard returns you to your own company's workspace.
Step 2. Create the client workspace
There are two ways to bring a client on.
Direct creation. In Create a client workspace, enter the client company name and the founder's work email. The founder receives a set-your-password email and becomes the workspace ADMIN.
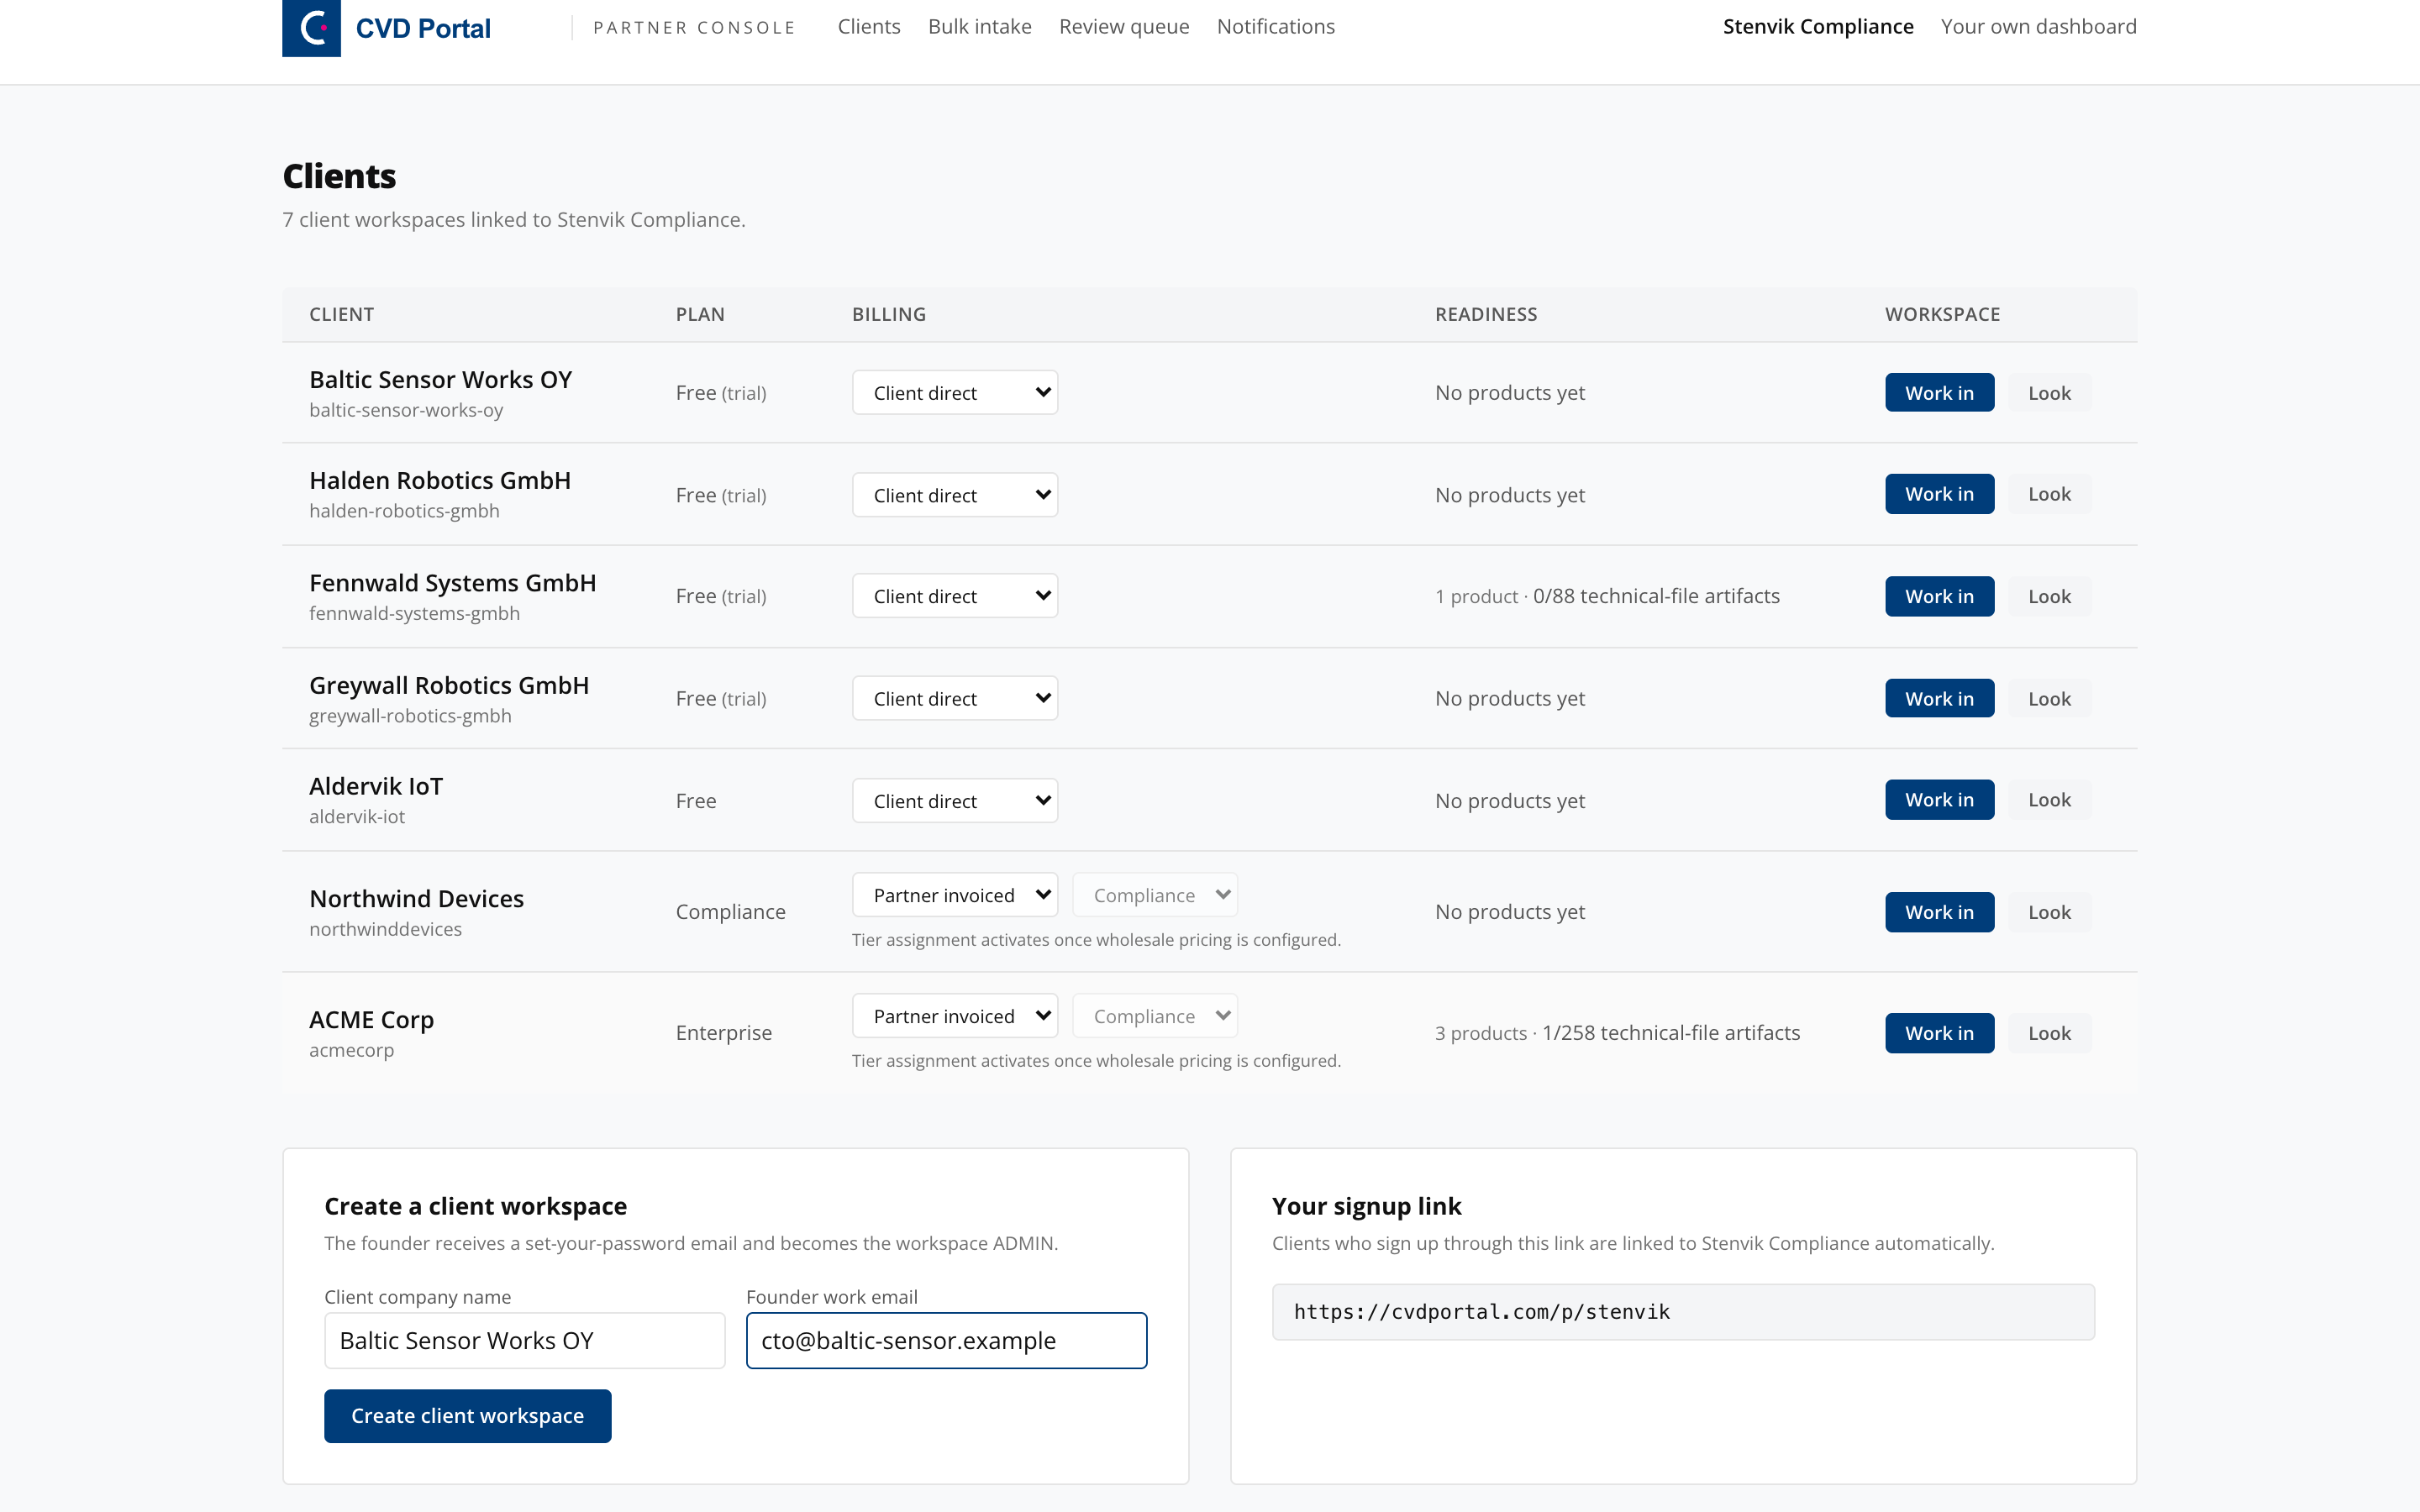
Select Create client workspace. The client appears in the list immediately, here as Baltic Sensor Works OY on the Free trial with billing still to be set.
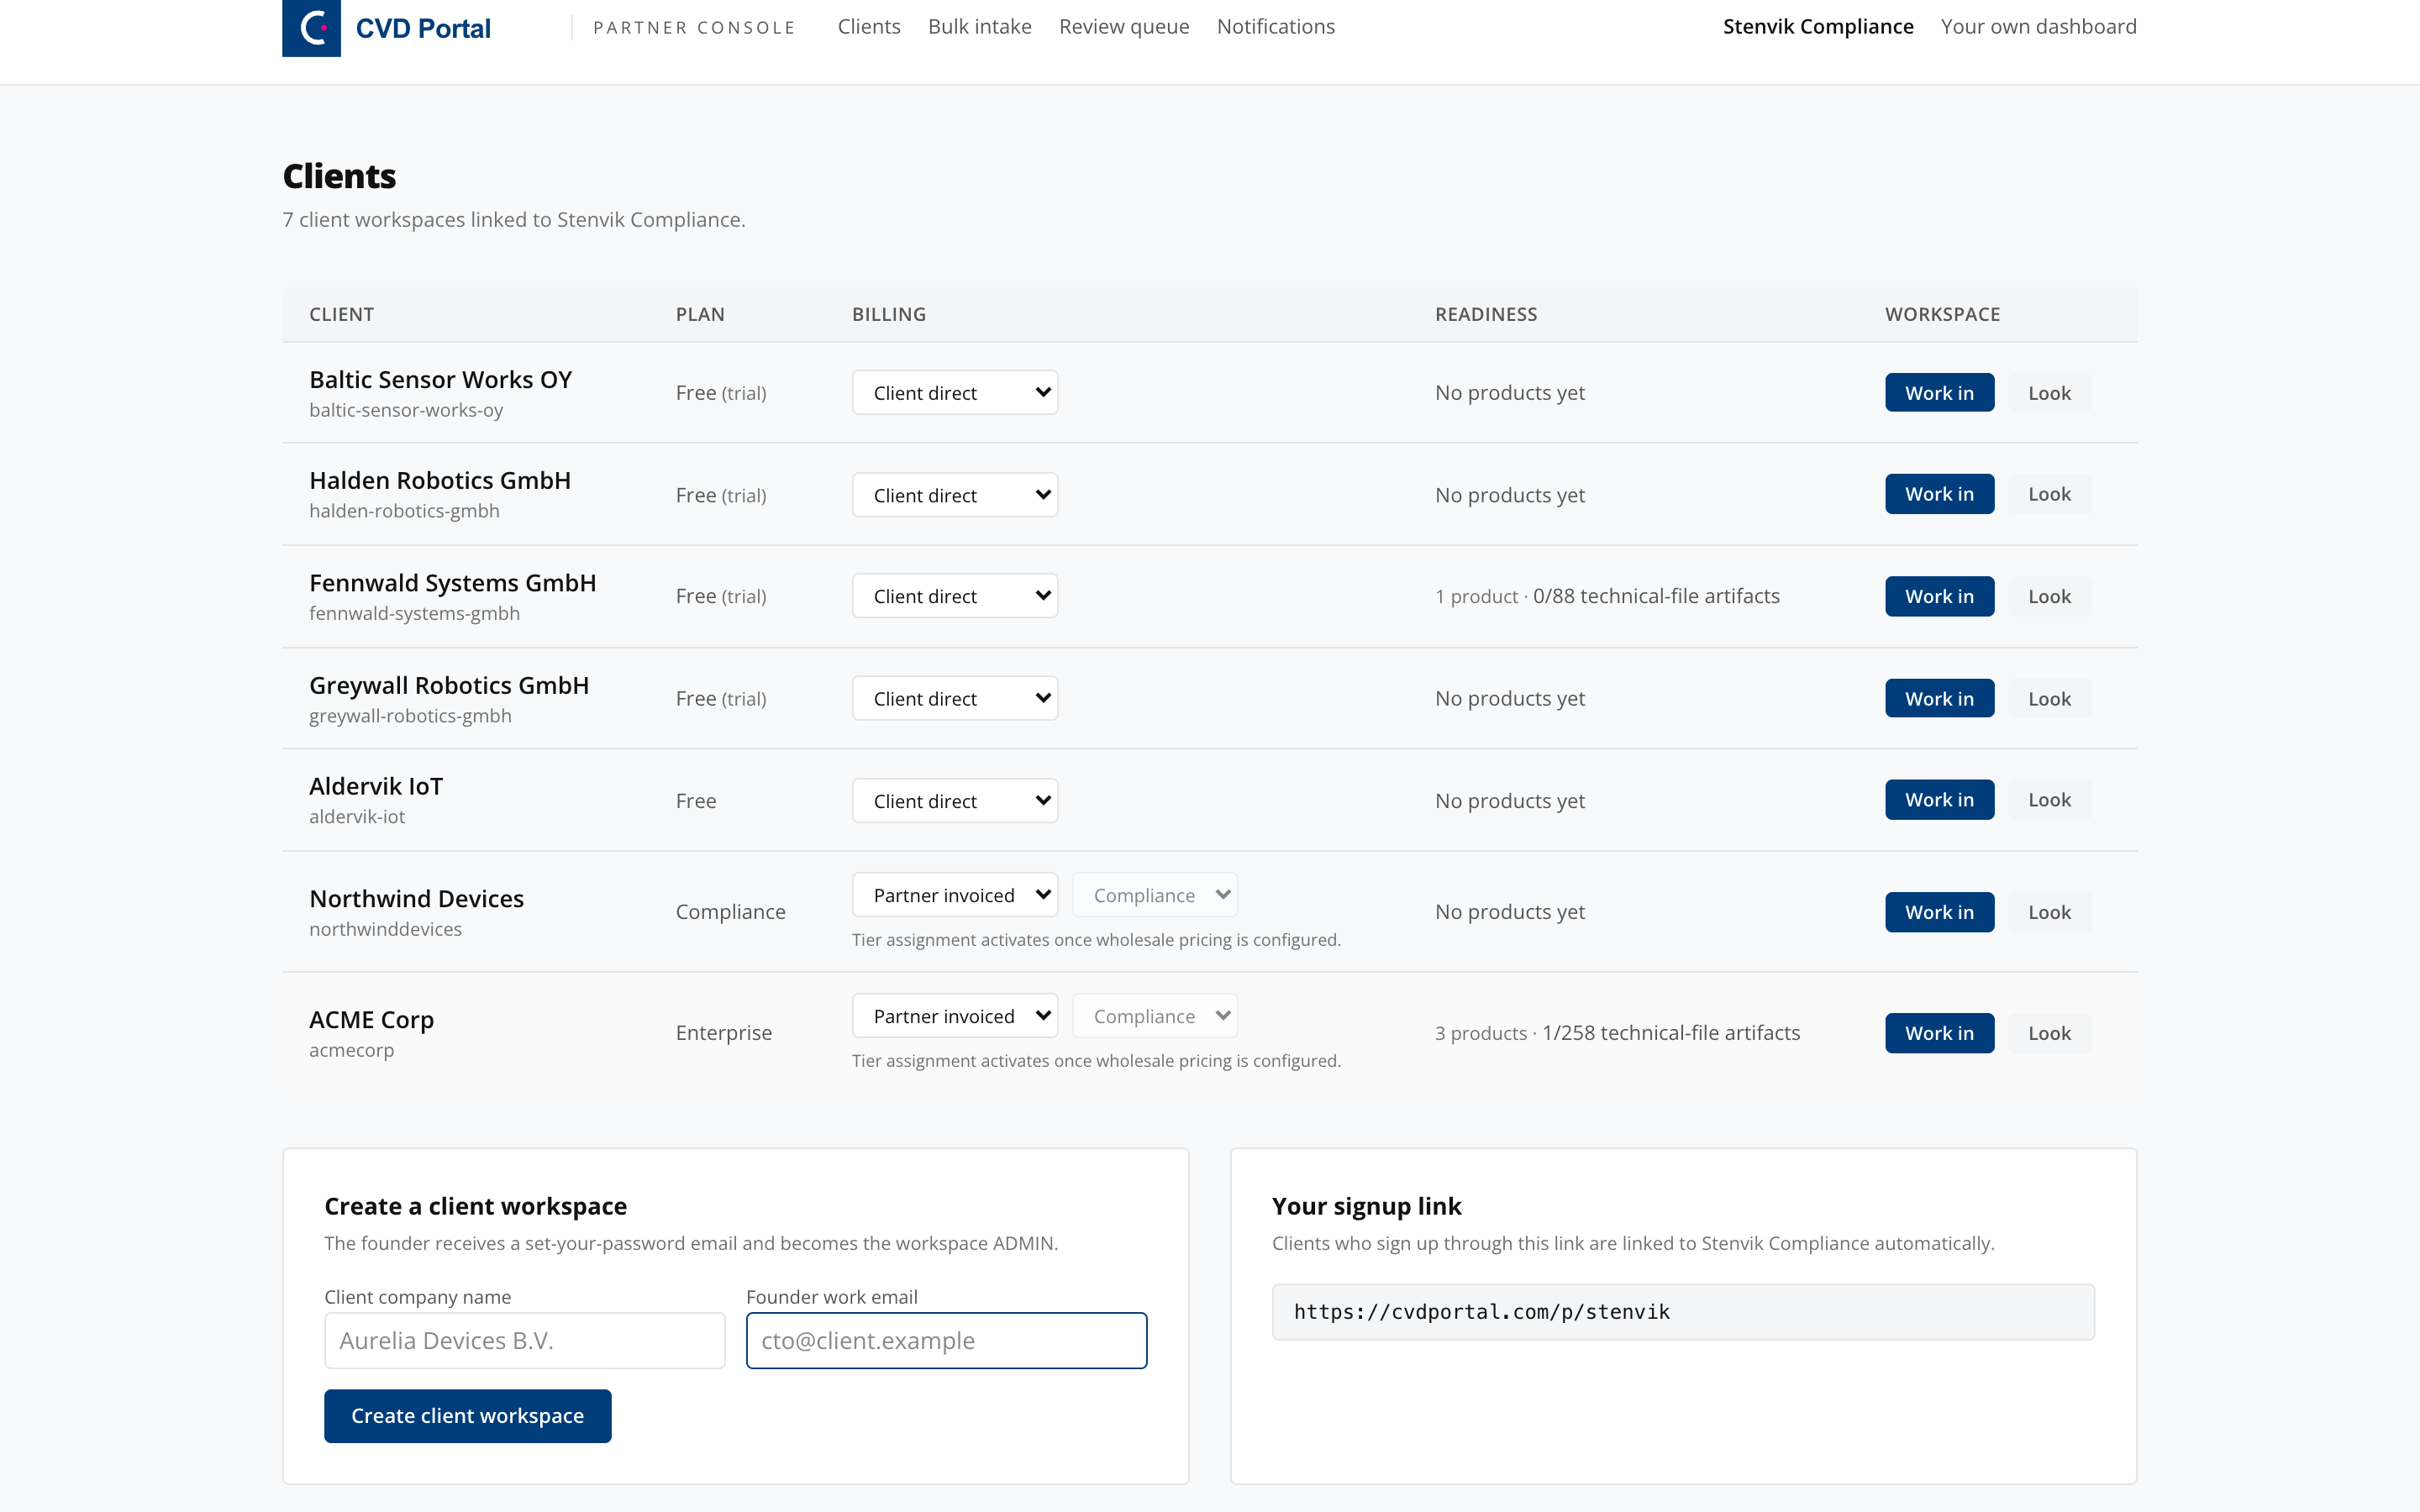
Self-signup. Alternatively, send the client your signup link. Anyone who signs up through it is linked to your partner account automatically.
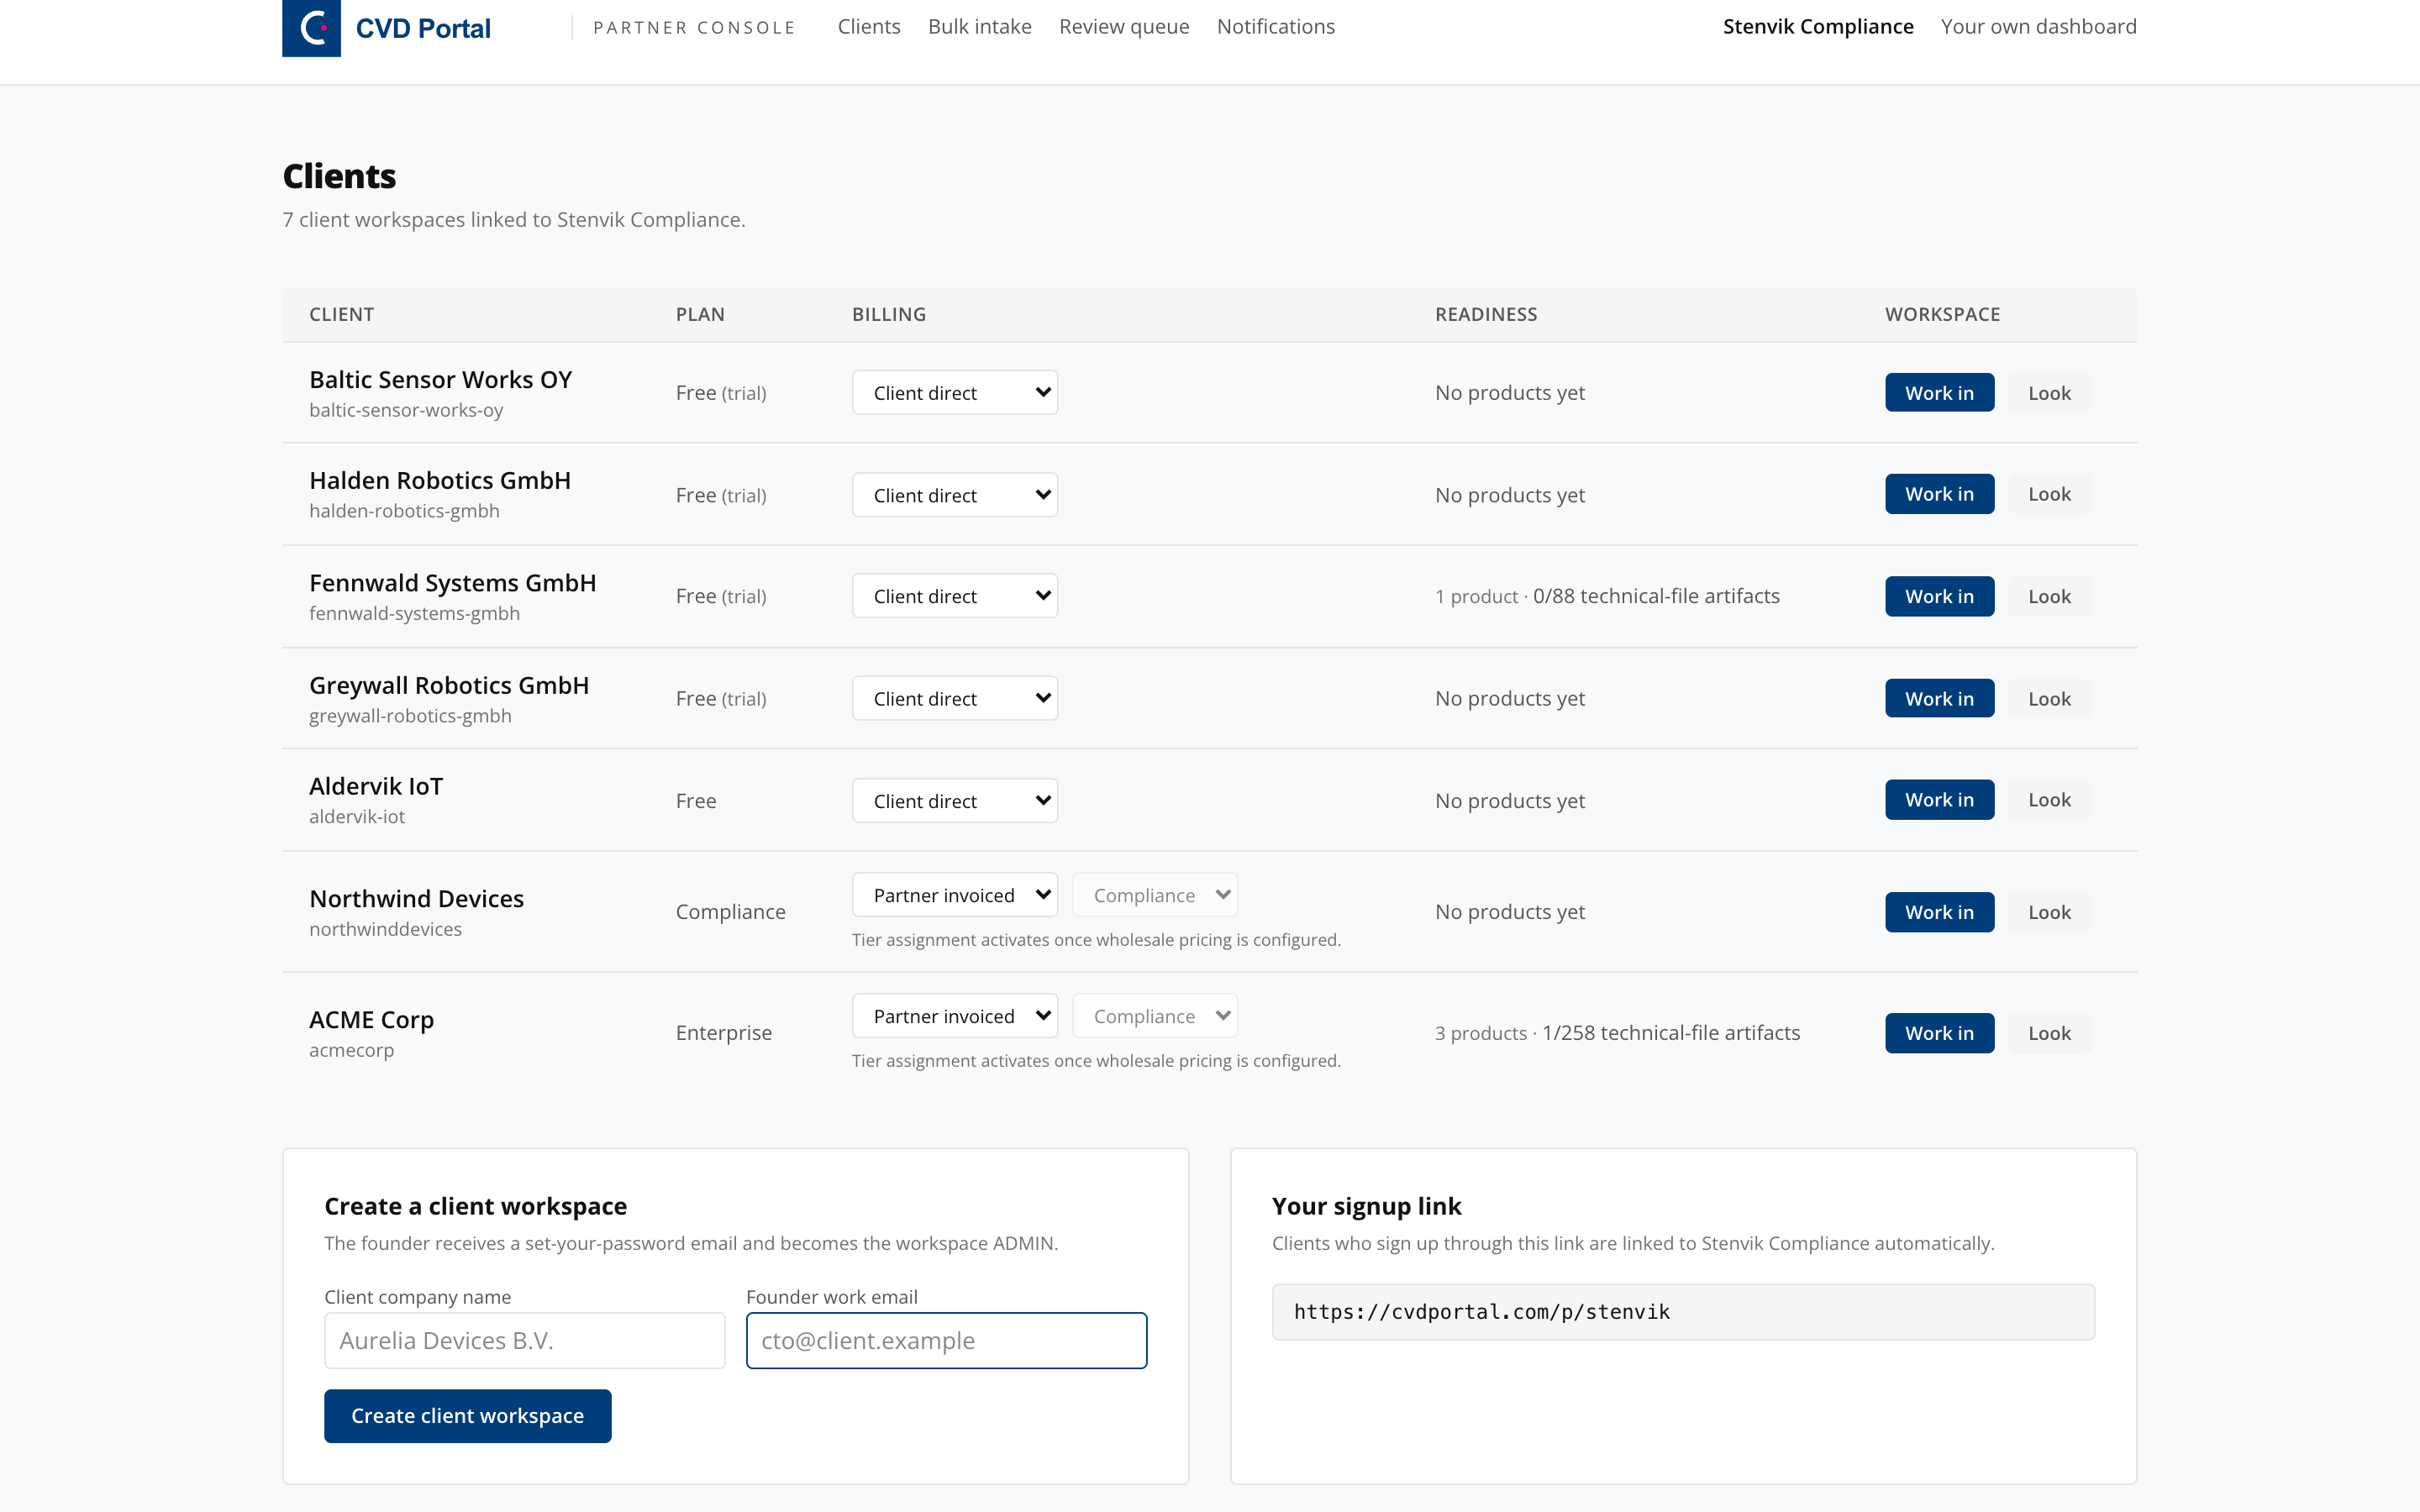
Use the signup link when the client wants to own the account creation themselves, which is common where procurement or IT has to approve the vendor relationship. Use direct creation when you are onboarding in a workshop and want the workspace live in the room.
Step 3. Set the billing arrangement
In the client row, set Billing to either Client direct or Partner invoiced.
Under partner invoicing you also assign the tier. Tier assignment activates once wholesale pricing is configured on your partner account.
Agree the billing arrangement before the client starts work. Changing it later is possible but produces a conversation about who owes what for the period already elapsed.
Step 4. Enter the client workspace
Each client row offers two ways in.
- Work in takes a partner seat with write access. Use this to do the work.
- Look is a 30 minute read-only drill-in. Use this when you only need to check something.
Select Work in on the client you are working.
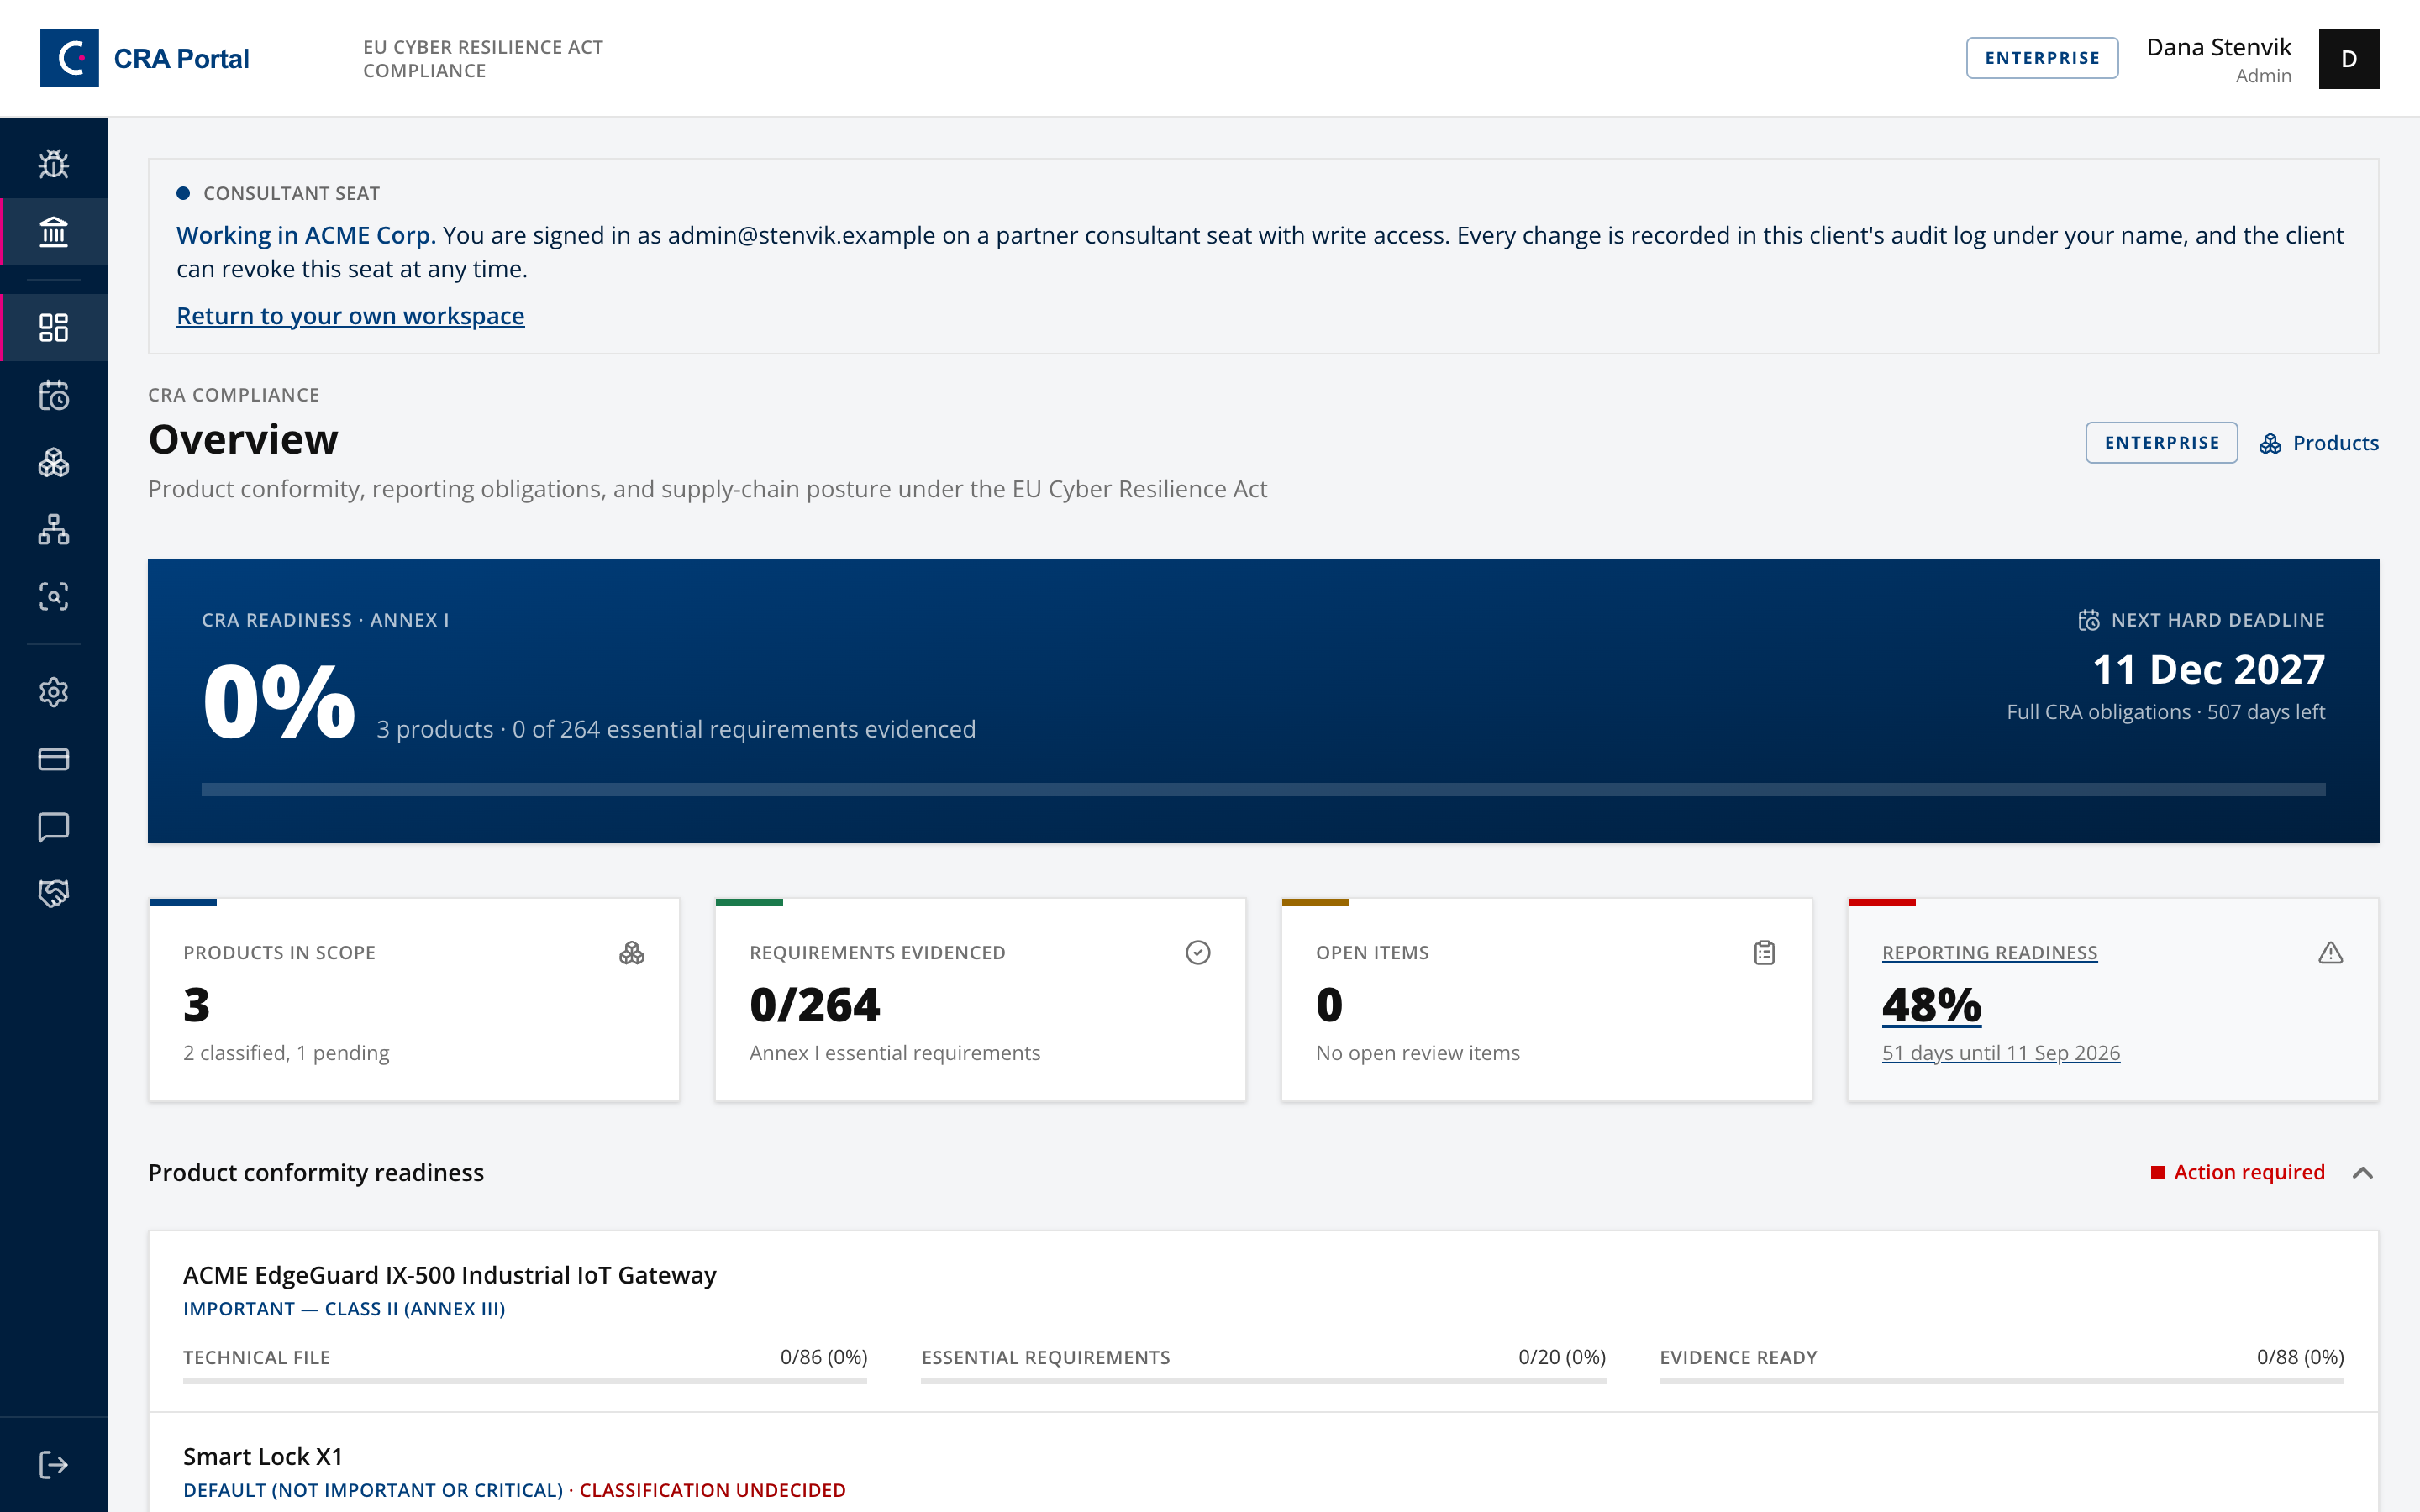
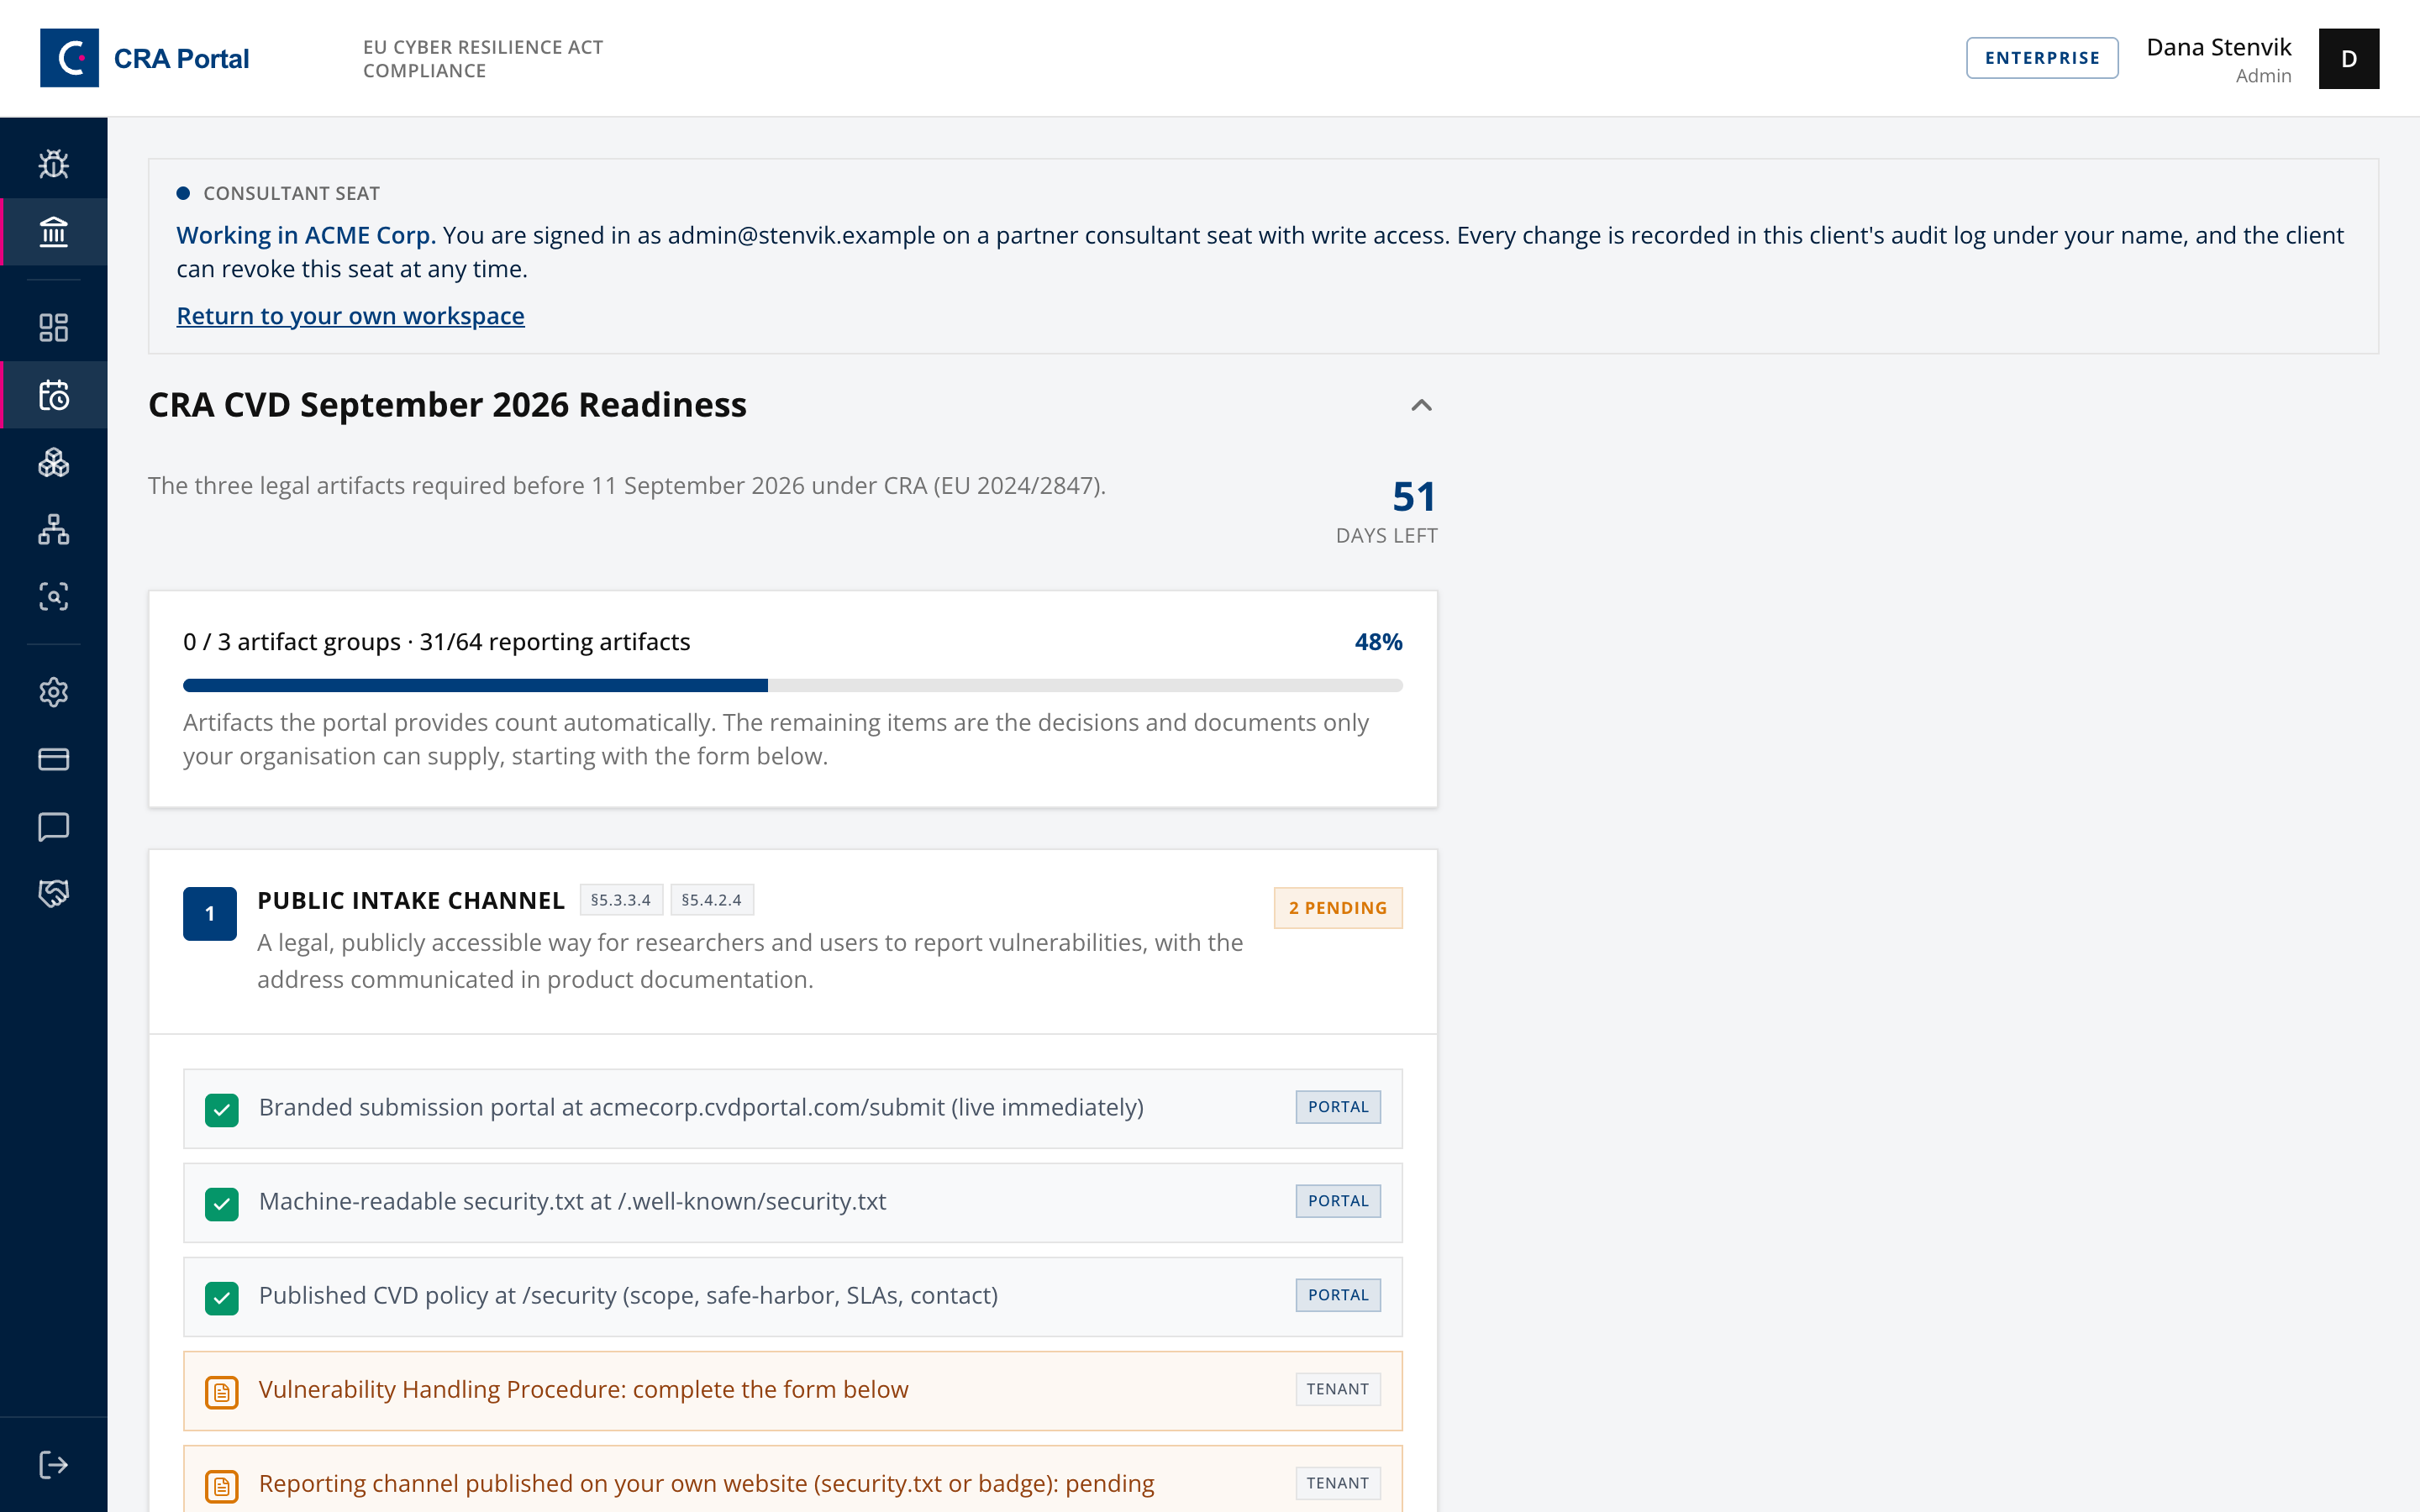
A banner confirms the seat for the whole session. It names the client, states that you are on a partner seat with write access, notes that every change is recorded in that client's audit log under your name, and confirms the client can revoke the seat at any time. Return to your own workspace exits the seat.
Check the banner before you start typing. It is the only thing distinguishing the client's workspace from your own, and the layouts are otherwise identical.
Both routes in are audited on the client side. Neither is silent.
You can enter a client workspace before the client has activated their own account. The client's public portal stays closed until they verify their email and activate their workspace. This means you can begin compliance work immediately after provisioning, without waiting for the client to complete their setup.
Step 5. Run the client's products through CRA compliance
Inside the client workspace, open Products.
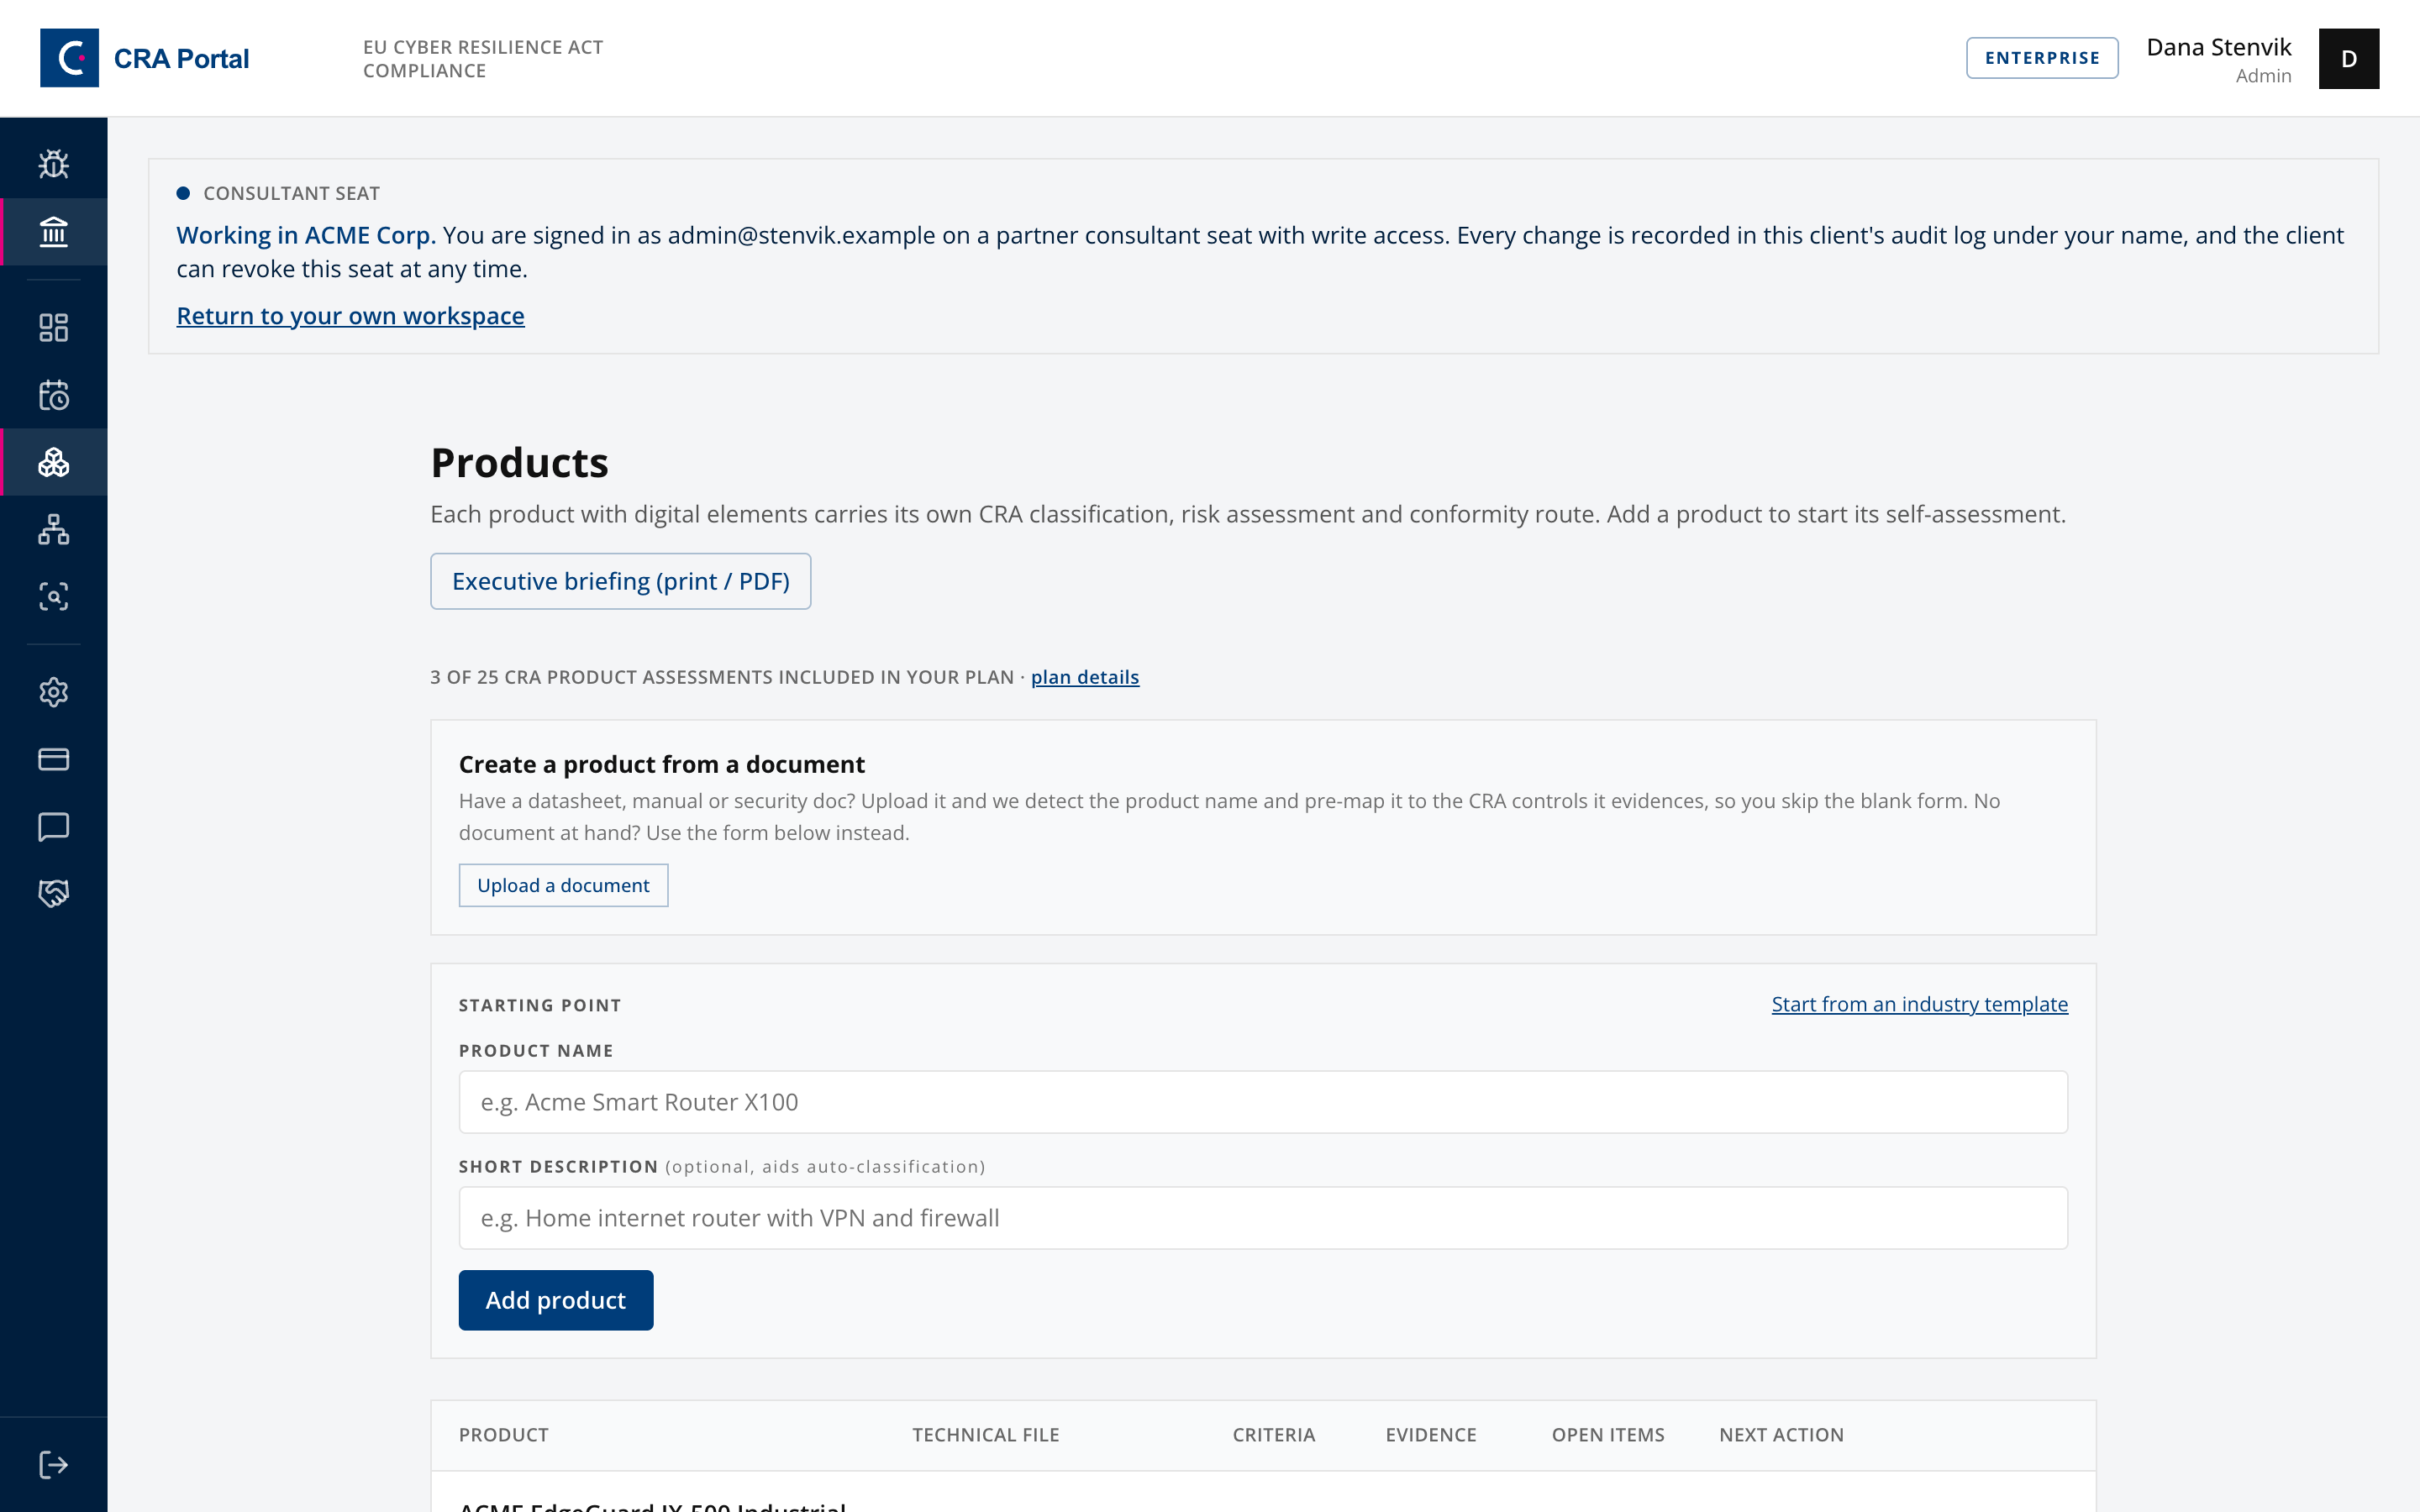
From here the process is identical to a manufacturer working their own product. Follow SOP-02, Taking a Product Through CRA Compliance, in full.
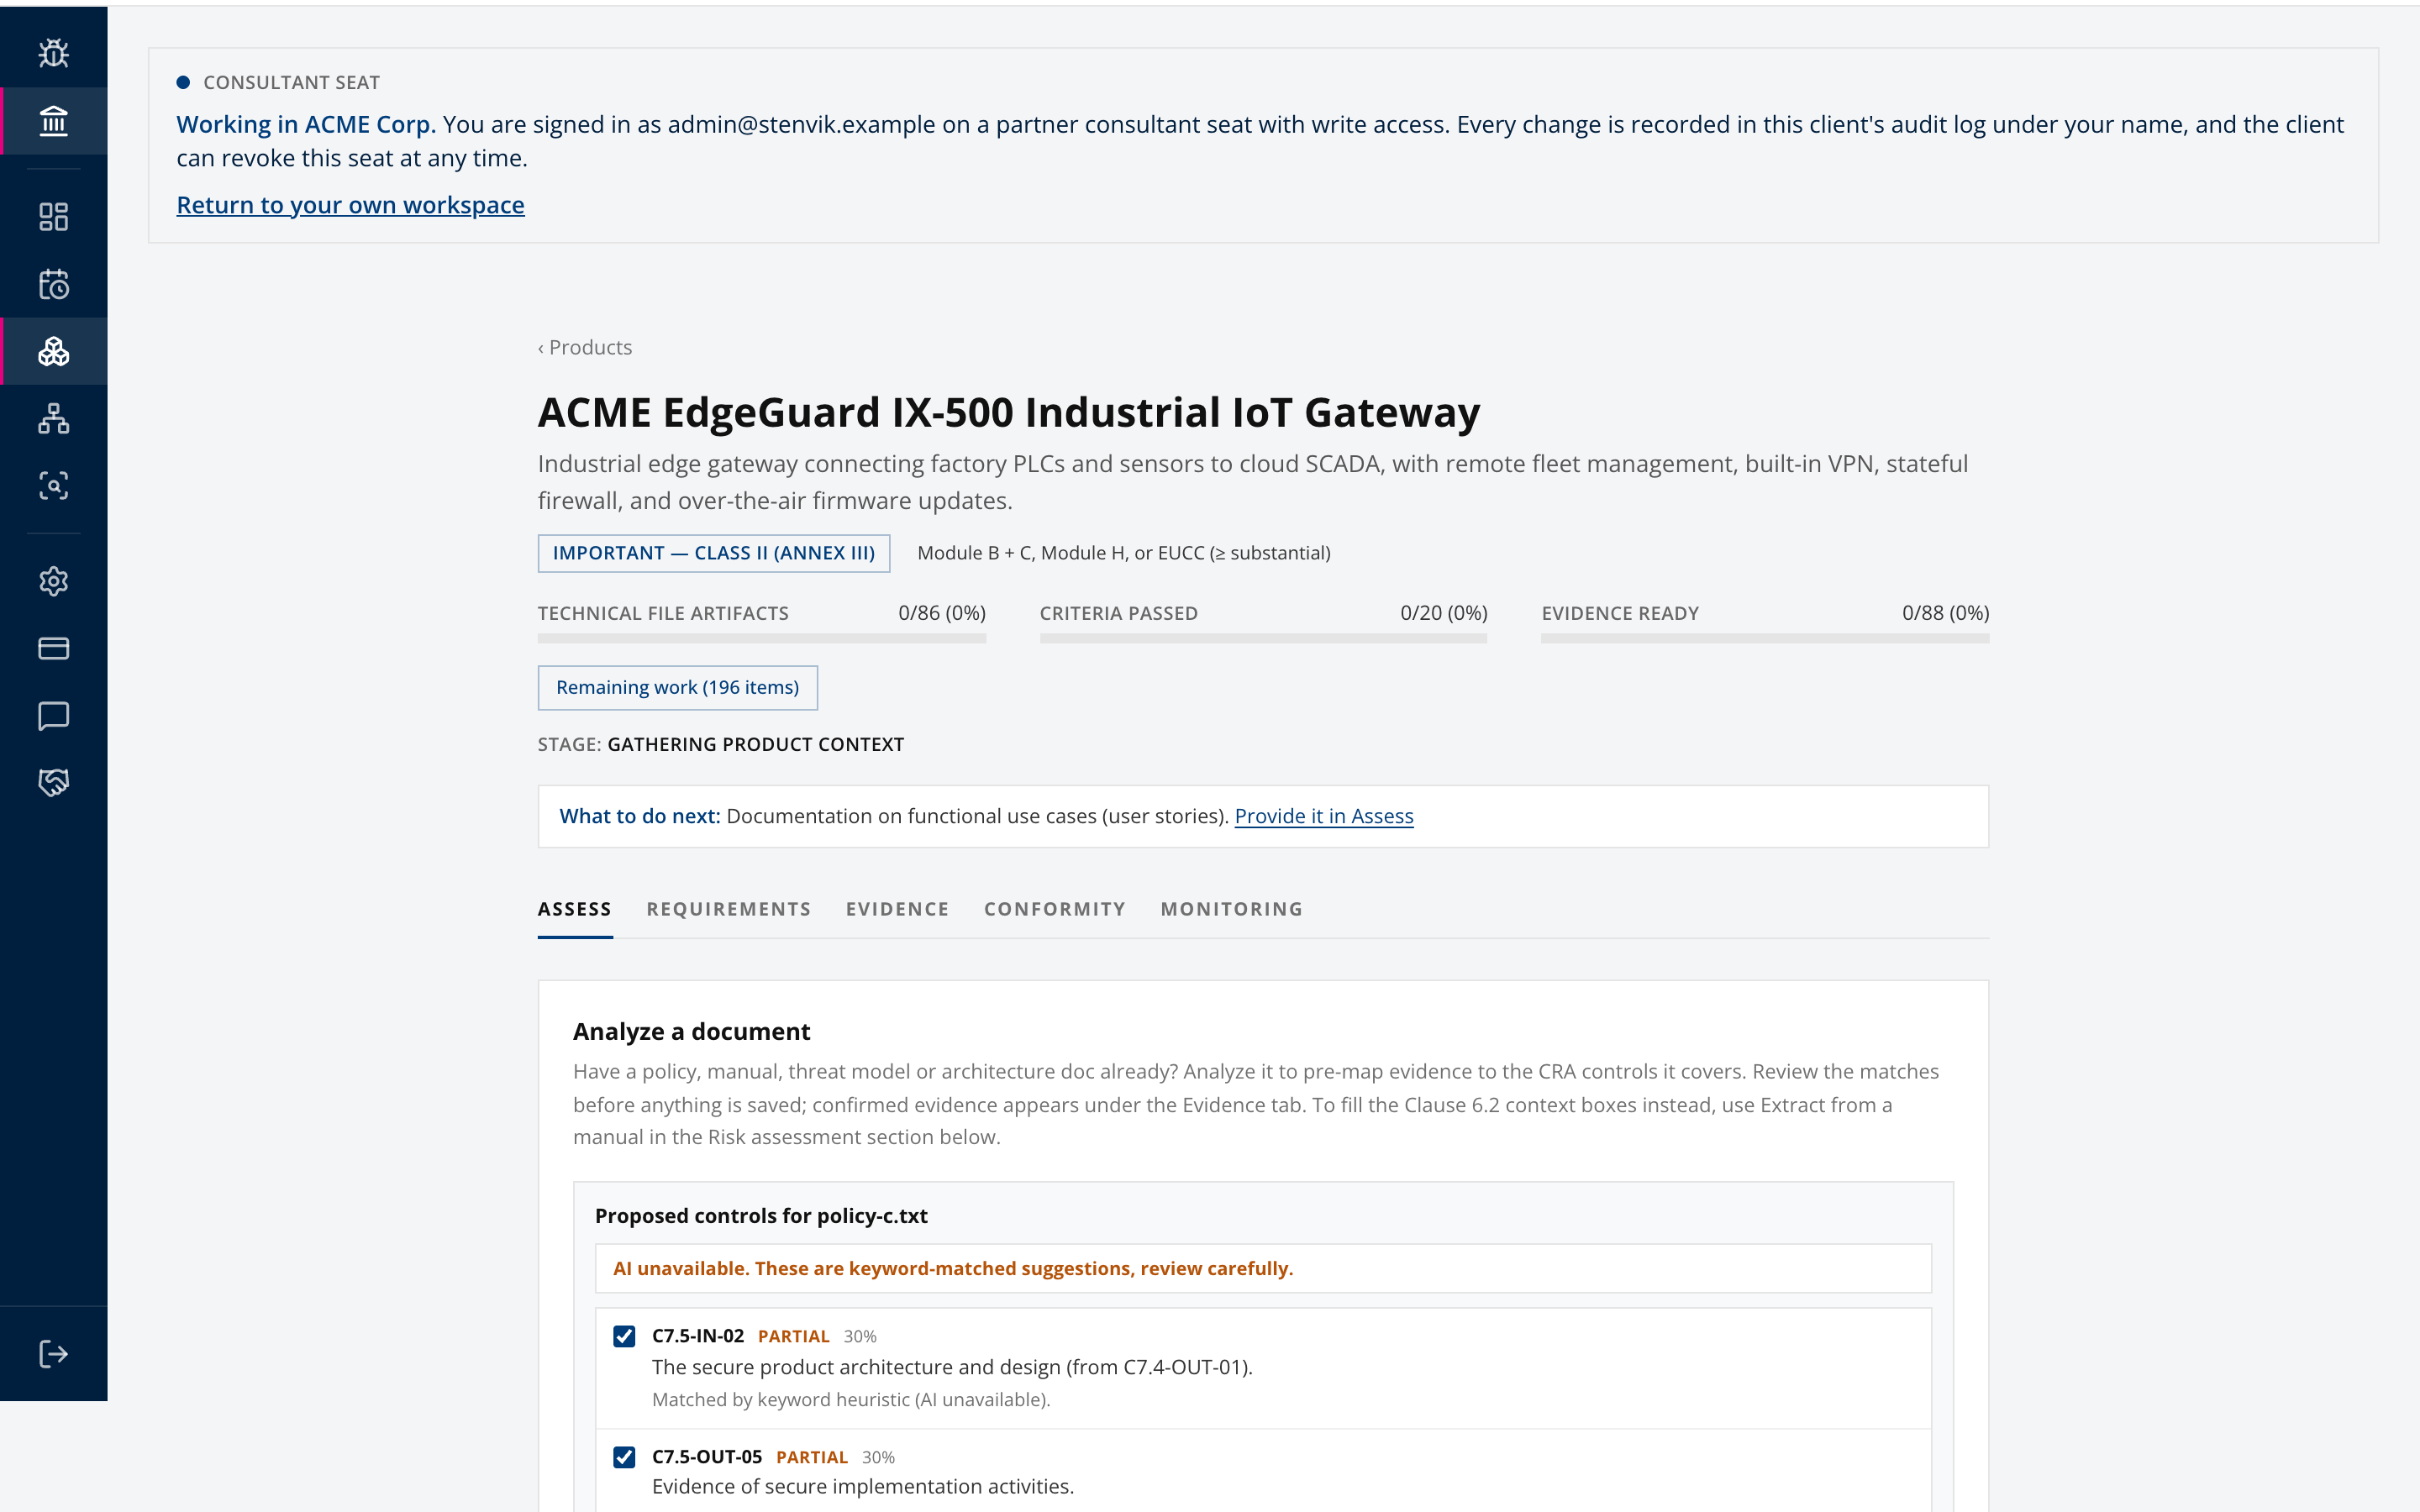
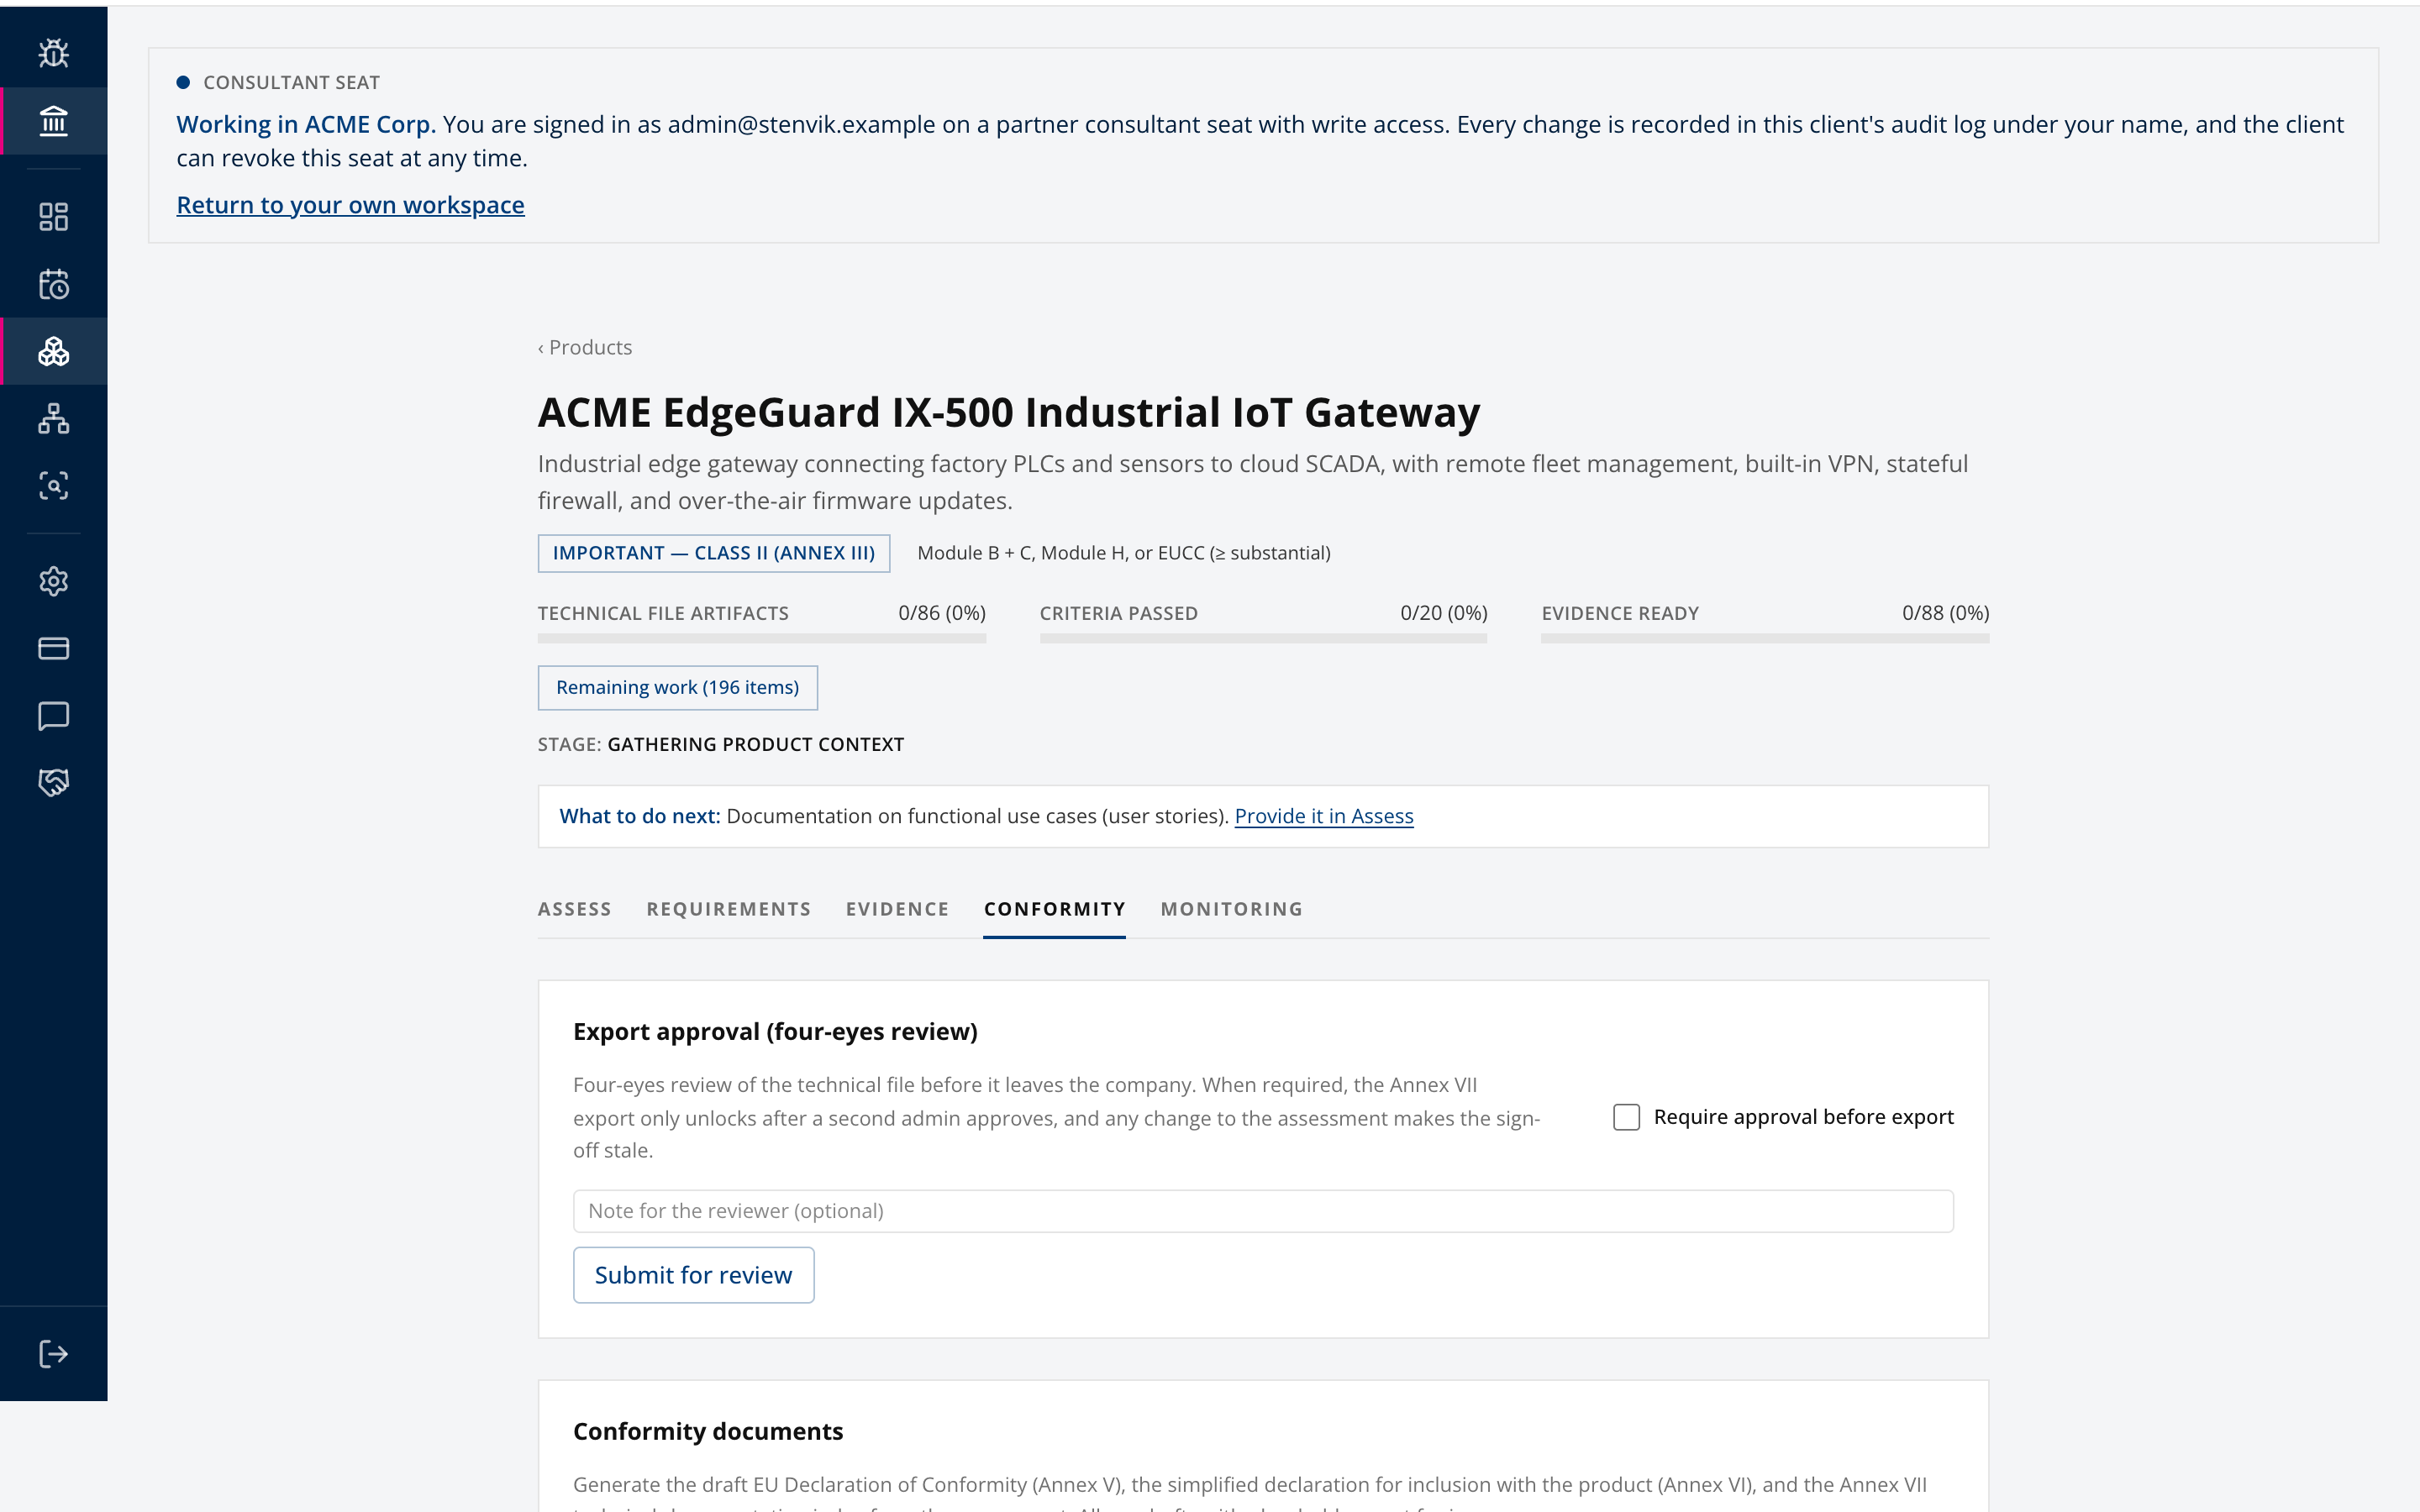
The classification decision under Article 13(4) and the risk assessment both require input only the client can give. Draft them, then have the client confirm. A classification you decided alone is a liability you took on unnecessarily.
Review the client's overall position under Readiness.
Step 6. Use bulk intake for document-heavy clients
Open Bulk intake when you are onboarding documents from several clients at once.
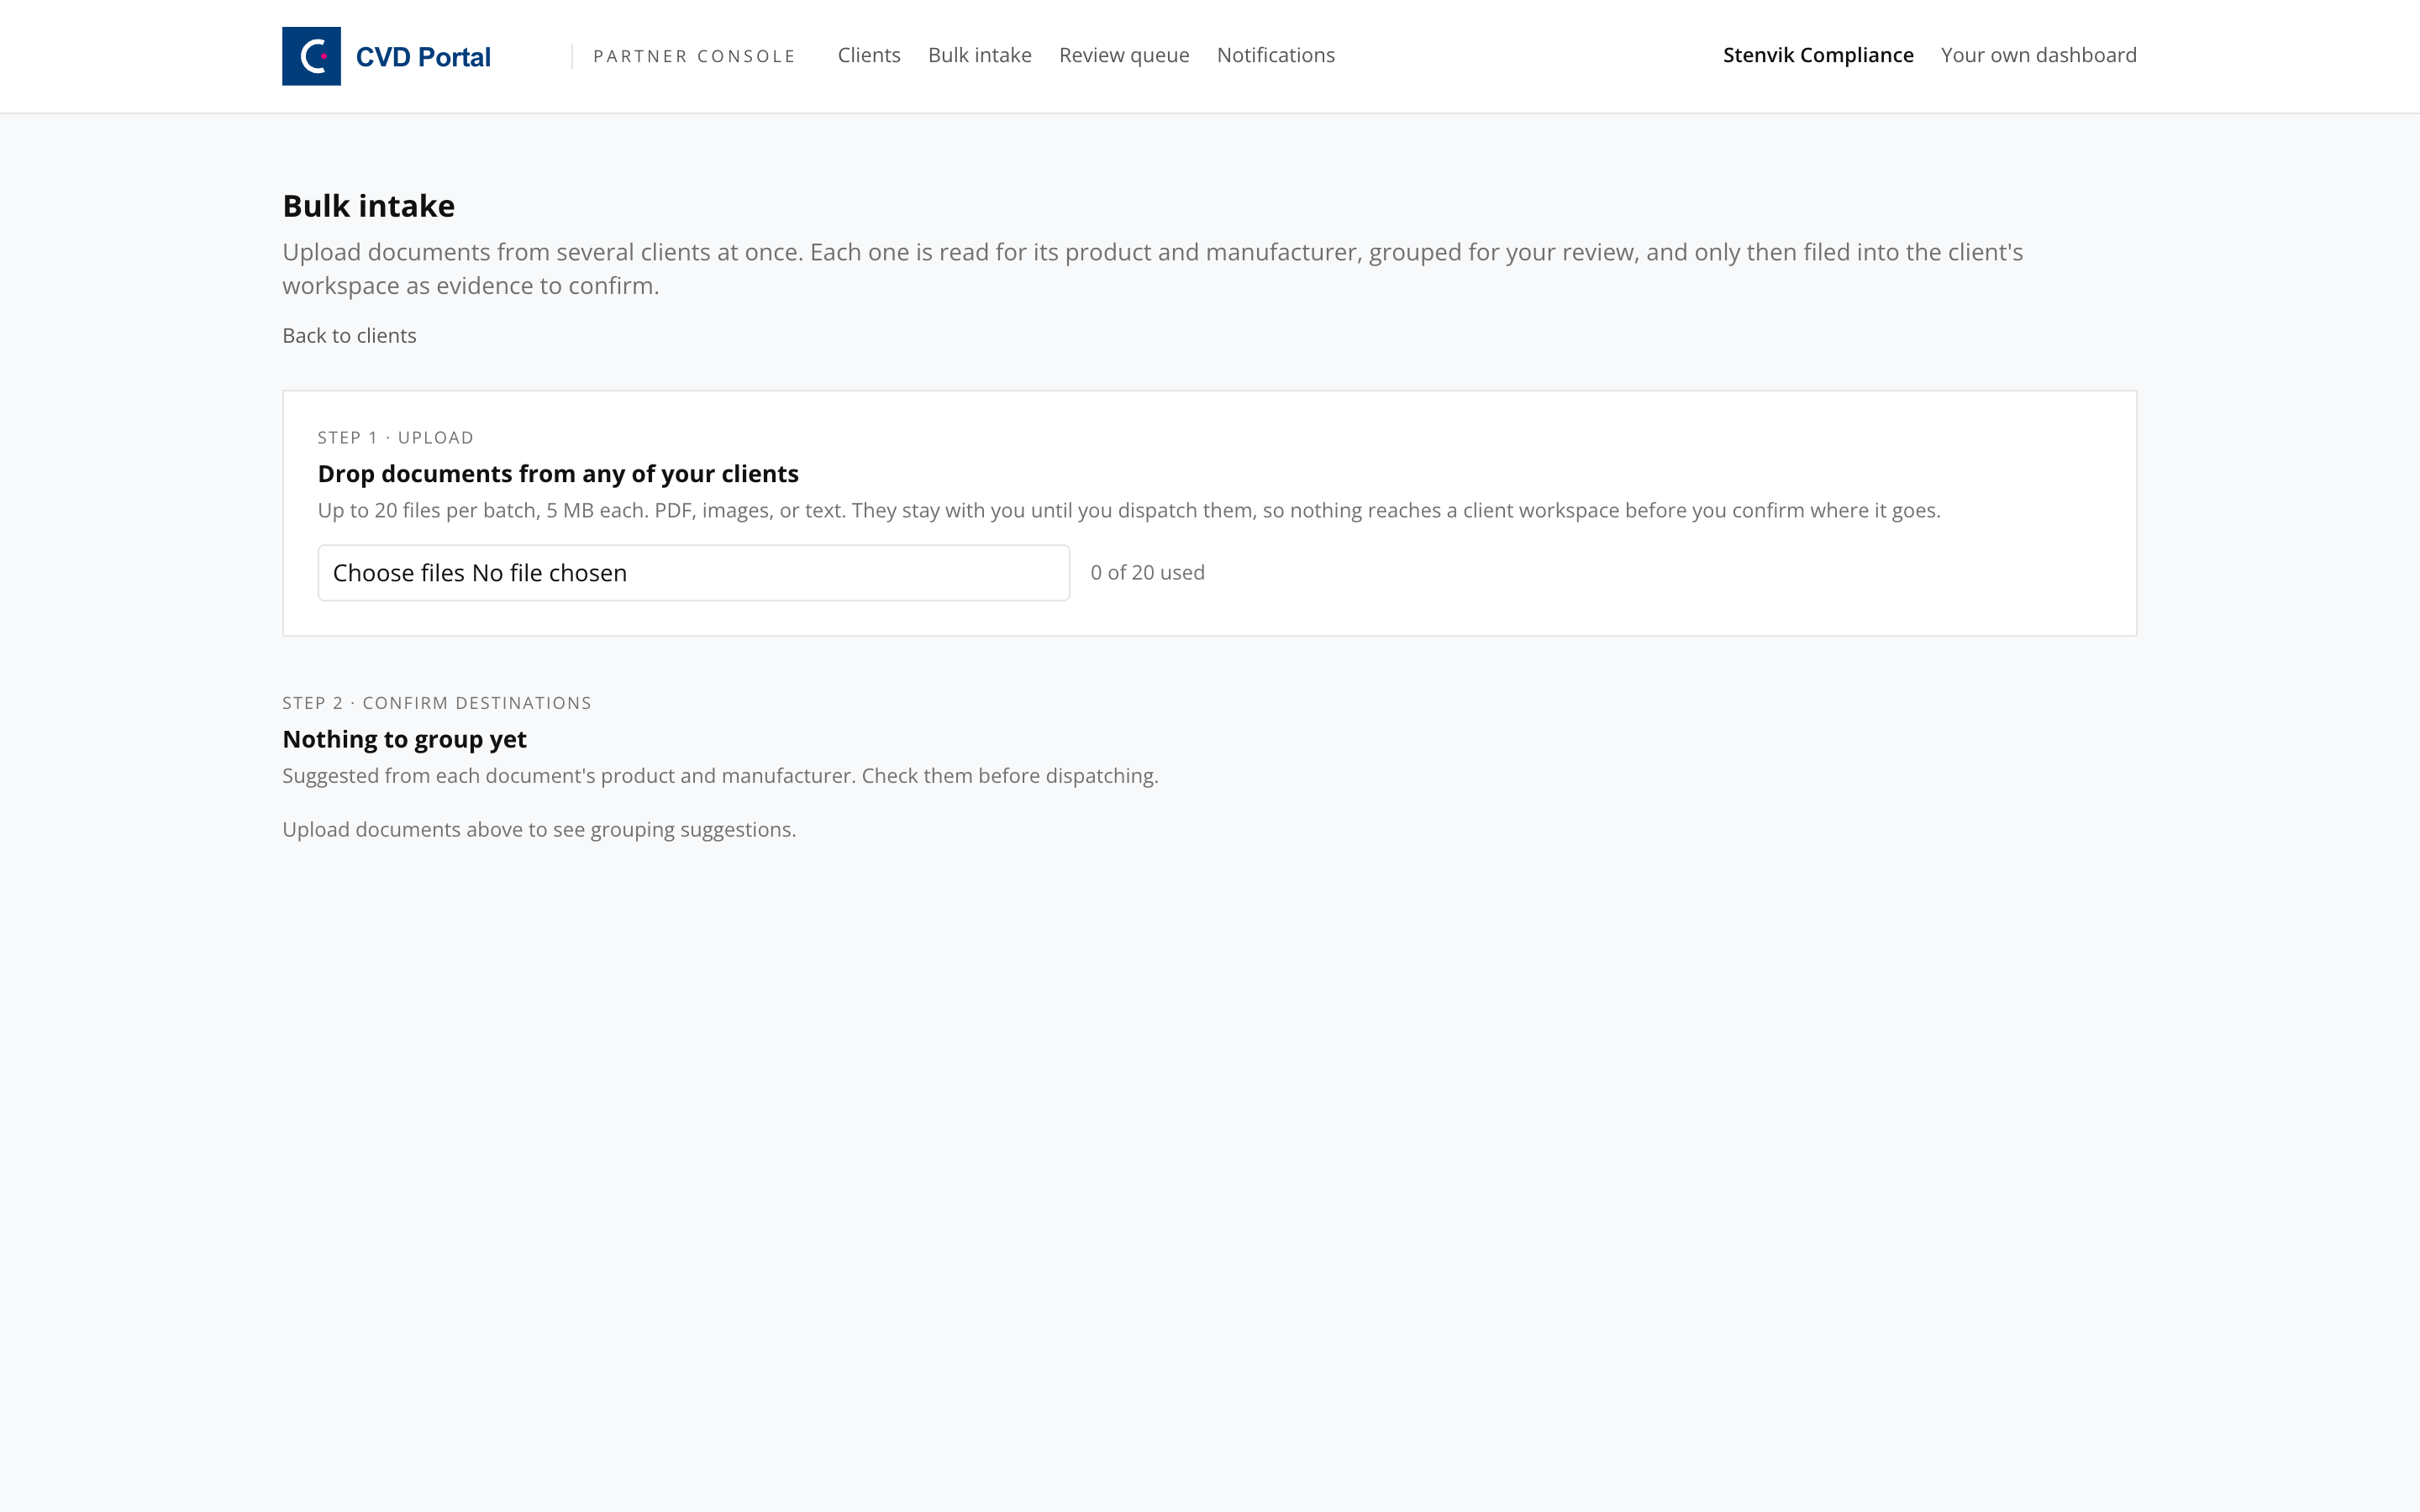
Upload up to 20 files per batch at 15 MB each, as PDF, images or text. Each document is read for its product and manufacturer, then grouped for your review.
Documents stay with you until you dispatch them, so nothing reaches a client workspace before you confirm the destination. Check the grouping suggestions in Step 2, Confirm destinations before dispatching.
The grouping is suggested, not authoritative. A misfiled document lands in the wrong client's tenant, which is the one error in this workflow that is genuinely awkward to explain.
Step 7. Work the review queue
Open Review queue.
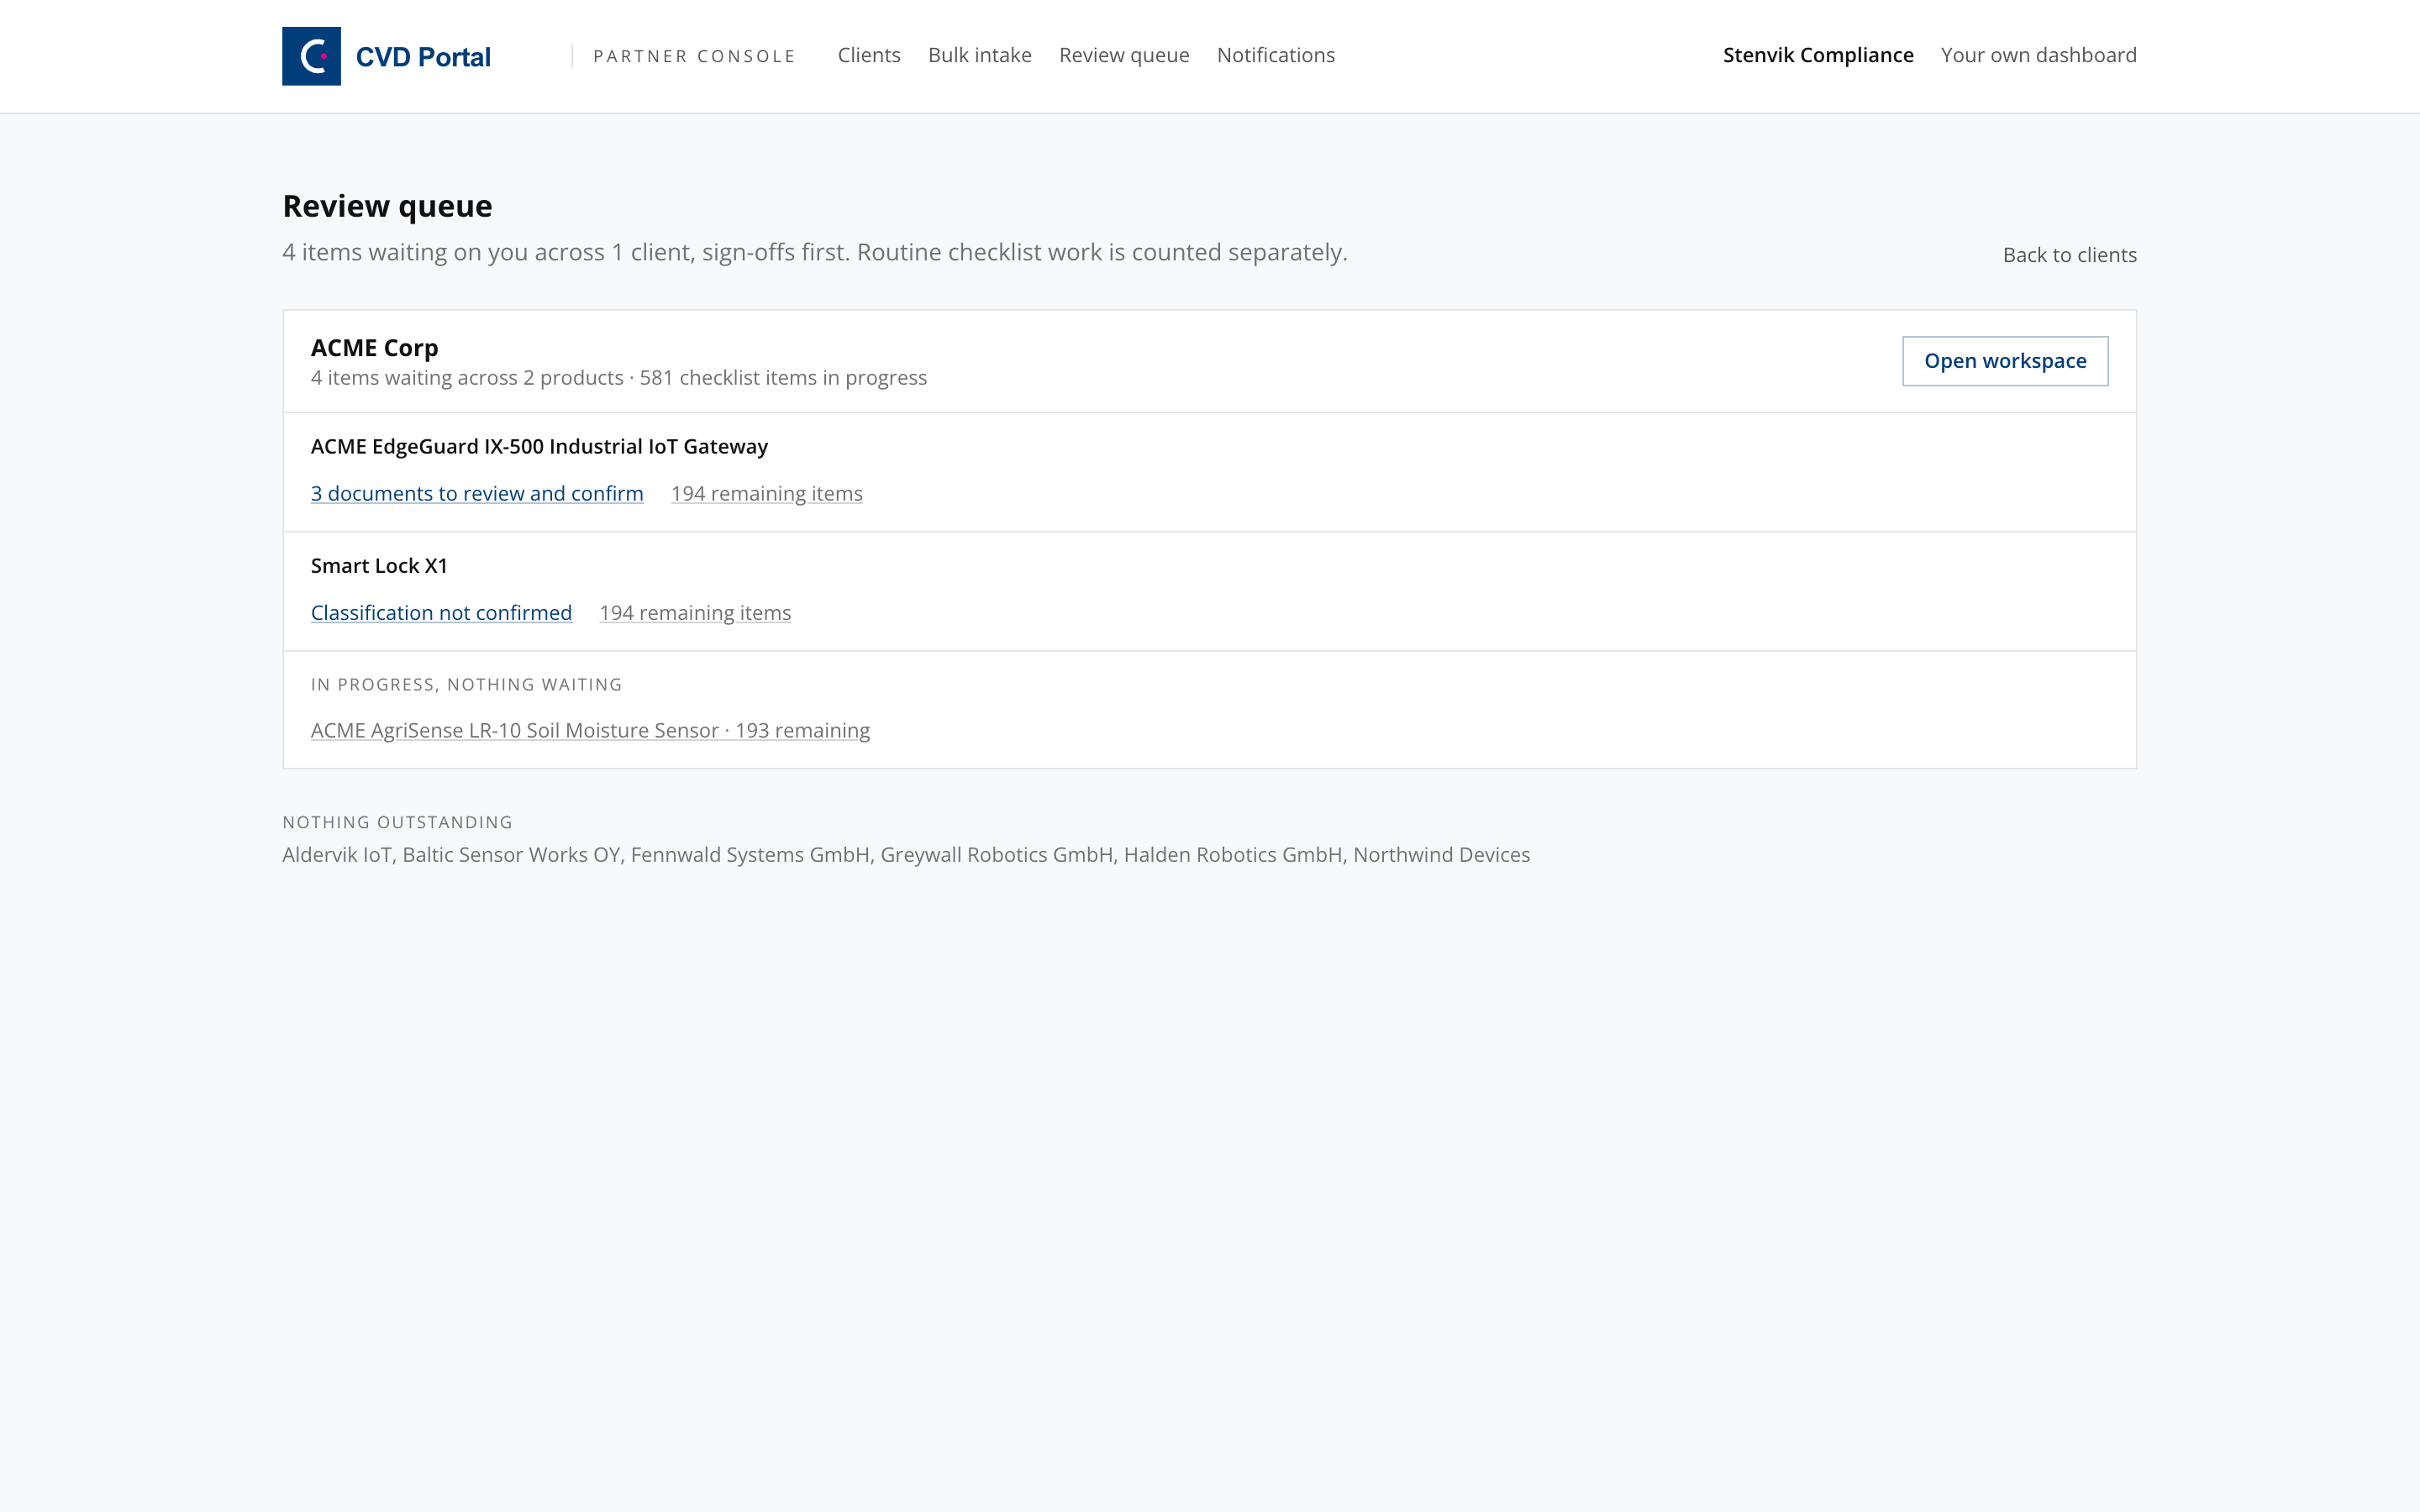
The queue aggregates what is waiting on you across every client, with sign-offs first and routine checklist work counted separately. Each client shows the products with items waiting, what kind of item they are, and how much remains.
Clients with nothing outstanding are listed compactly at the bottom, so the queue stays readable as the client count grows.
Work sign-offs before checklist items. A blocked export stops the client from shipping. A pending checklist item does not.
Step 8. Configure notifications
Open Notifications.
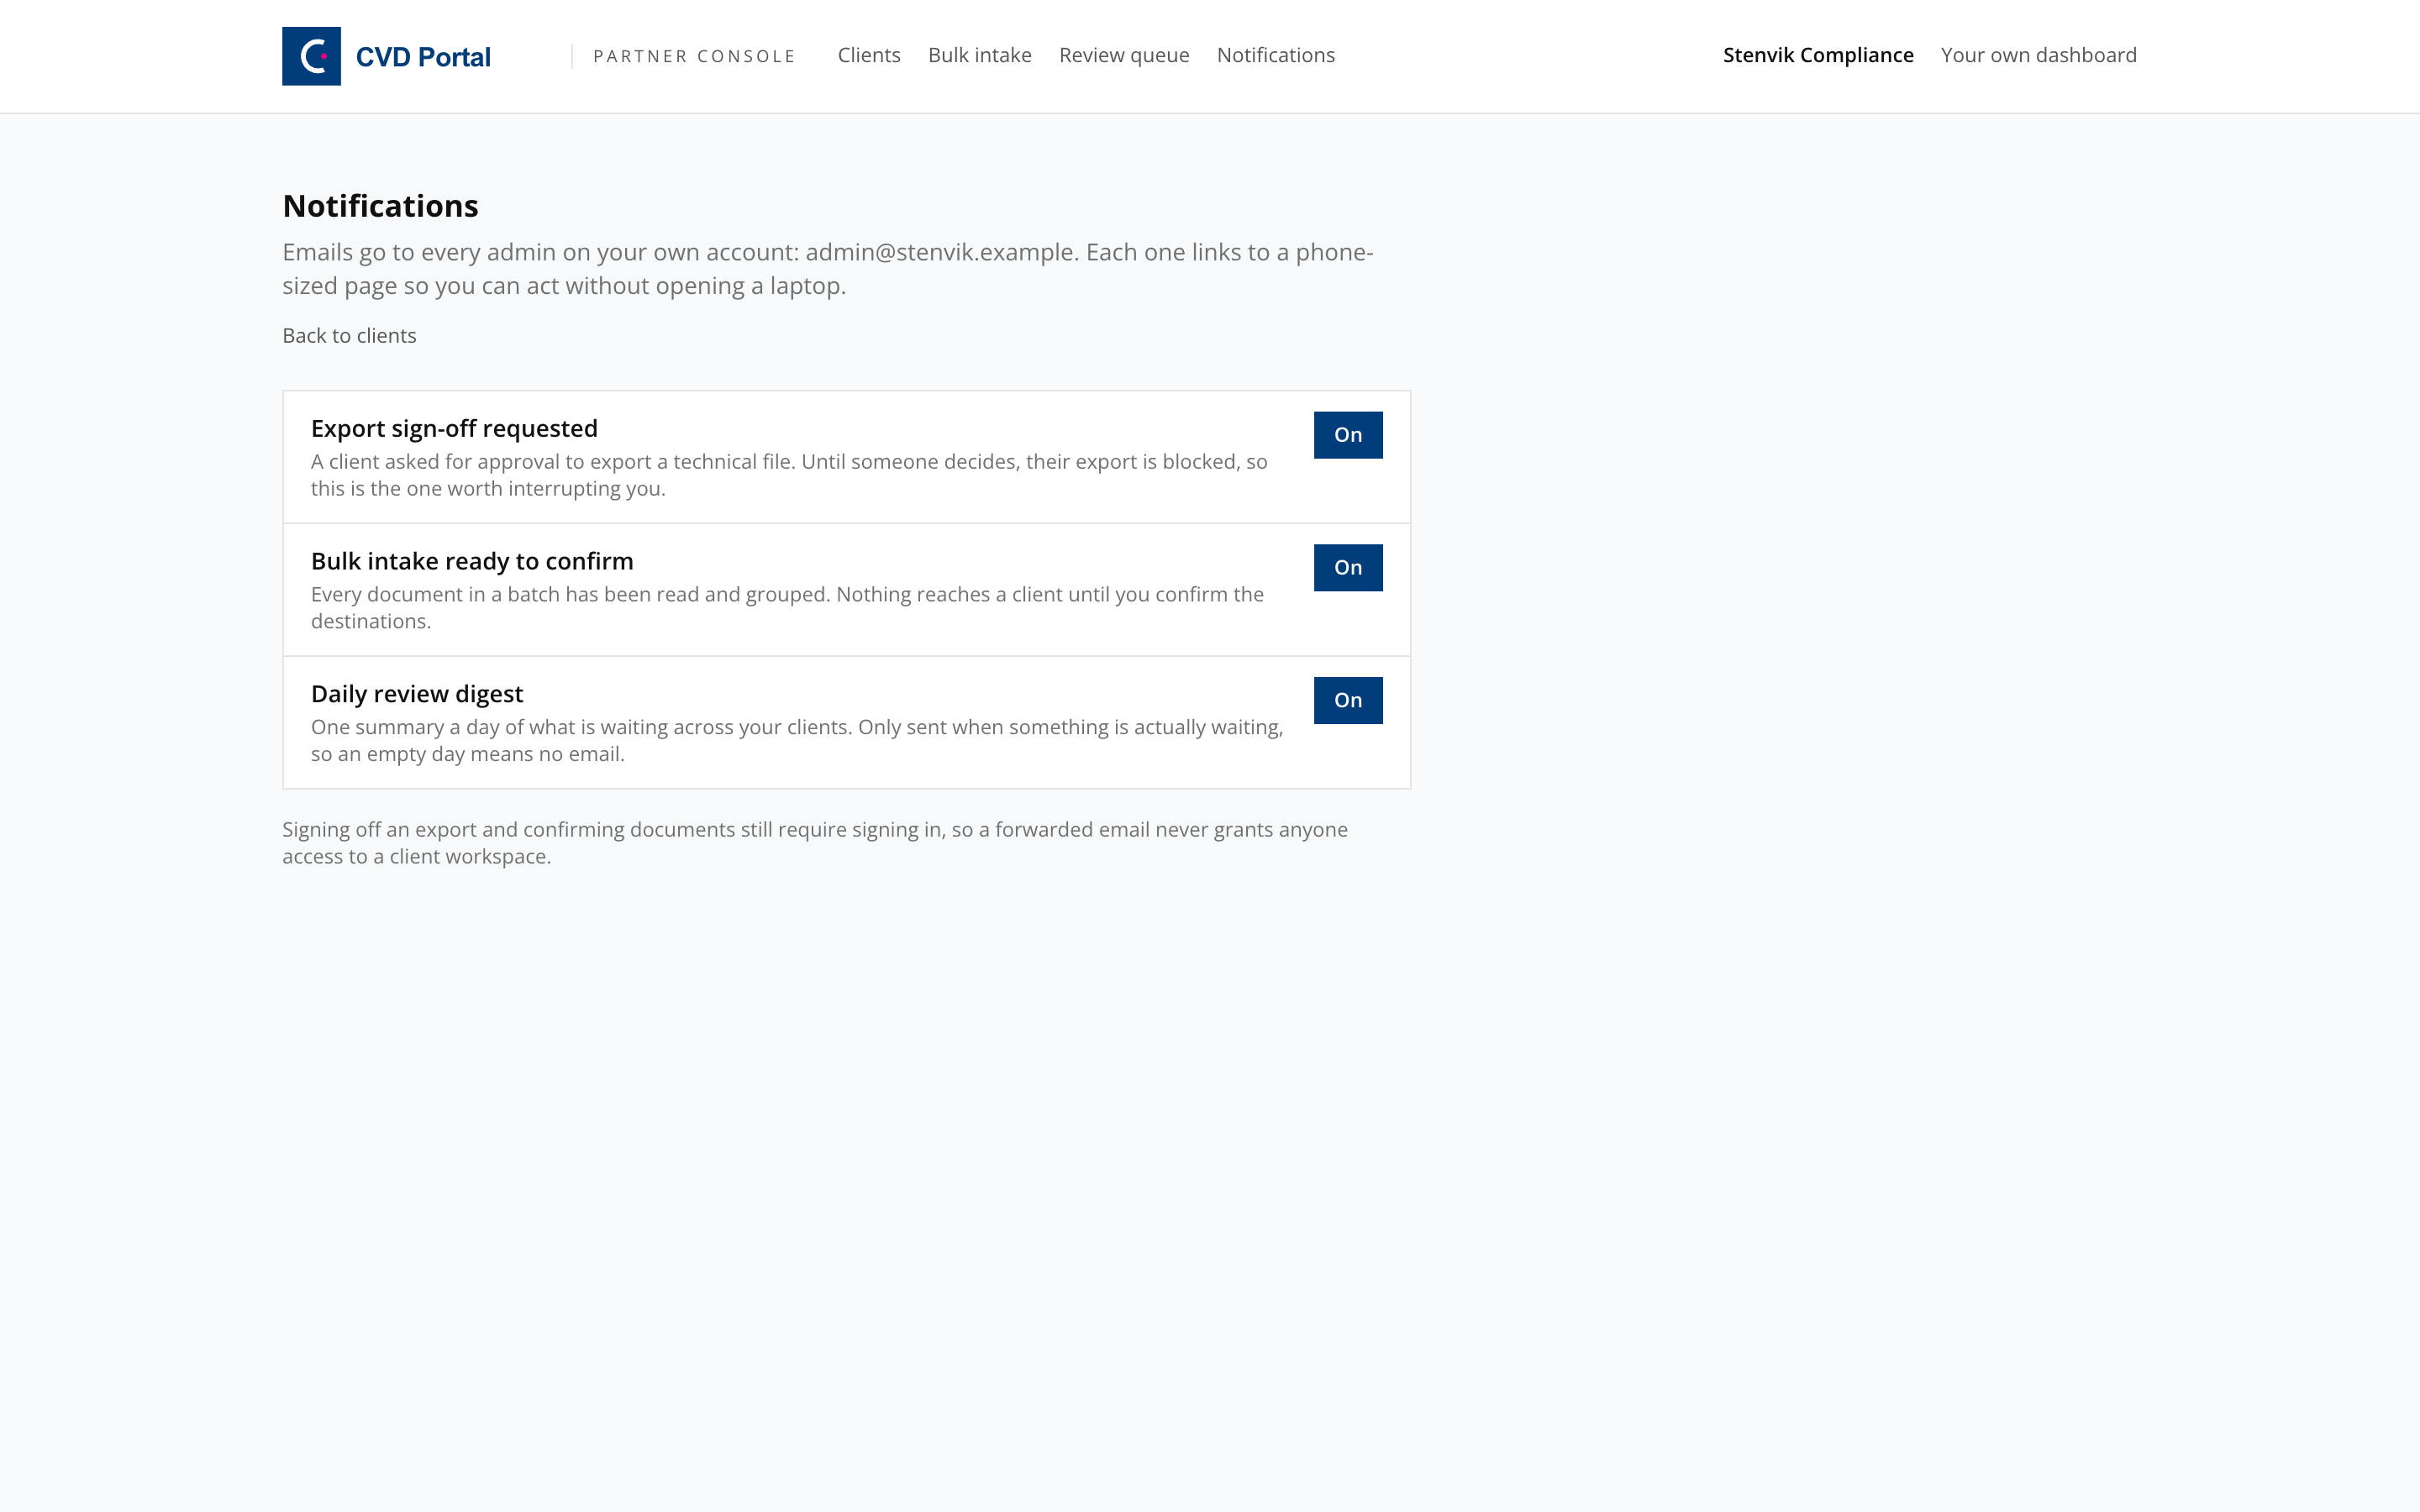
Emails go to every admin on your own partner account, and each links to a phone-sized page so you can act without opening a laptop.
- Export sign-off requested. A client asked for approval to export a technical file. Their export stays blocked until someone decides, so this is the one worth being interrupted for.
- Bulk intake ready to confirm. Every document in a batch has been read and grouped. Nothing reaches a client until you confirm destinations.
- Daily review digest. One summary a day of what is waiting across your clients, sent only when something is actually waiting.
Signing off an export and confirming documents both require signing in, so a forwarded email never grants anyone access to a client workspace.
Completion checklist
Per client onboarded.
- Client workspace created, or client signed up through your partner link
- Founder has set their password and holds ADMIN on their own workspace
- Billing arrangement agreed and set
- Partner seat tested with Work in, and the seat banner confirmed
- Client informed that they can revoke partner access at any time
- Products added and classification drafted for client confirmation
Per partner account, once.
- Wholesale pricing configured, if invoicing clients through your account
- Notification preferences set
- Review queue established as a recurring work item
Boundaries worth setting with the client
- The client's ADMIN owns the workspace. You hold a seat inside it, not the account.
- The client controls partner access and can disable your drill-in from their own settings.
- Every action you take appears in the client's audit log under your name. Tell them this at onboarding rather than letting them discover it.
- Generated conformity documents are drafts with placeholders. Where you are the one issuing advice on them, the review obligation is yours to state explicitly in your engagement terms.